I pin a lot random things (like DIY photo coasters). I forget where I pin them. Eventually, I get bored, sift through my pins, and get inspired.
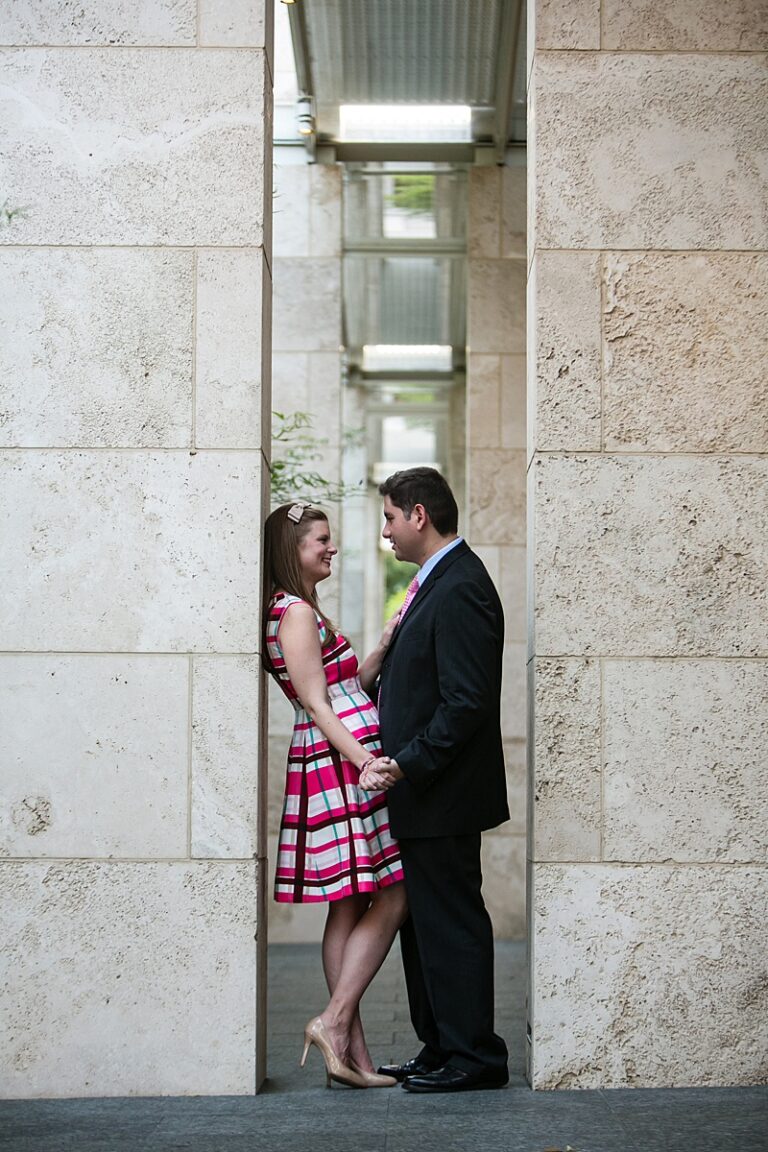
When I needed a wedding shower gift idea for Tom’s brother, I wanted to do something personal. I had taken their engagement pictures, and I knew I wanted to incorporate the photos somehow. Eventually, I found something completely inspired me. I emailed my trusty sidekicks, Erin and Elizabeth, and decided to push forward on the project. This would be the perfect DIY travel souvenir using your own photos, too.
Disclosure: This post contains affiliate links for tours and products I love at no additional cost to you. You can read my full disclosure policy here.
Materials Necessary to DIY Photo Coasters
- 4.25″x4.25″ ceramic tiles (Mine were .16 at Home Depot. .16!!)
- Photos (I ordered 4″x5″ photos and cut them down to by 4″x4″. I also used matte photos, because the resin is high gloss… and becauseiforgottochooseglossy.)
- Glue that will adhere to ceramics (I used E3000.)
- EnviroTex Lite Resin
- Drinking straw
- Felt mounting circles
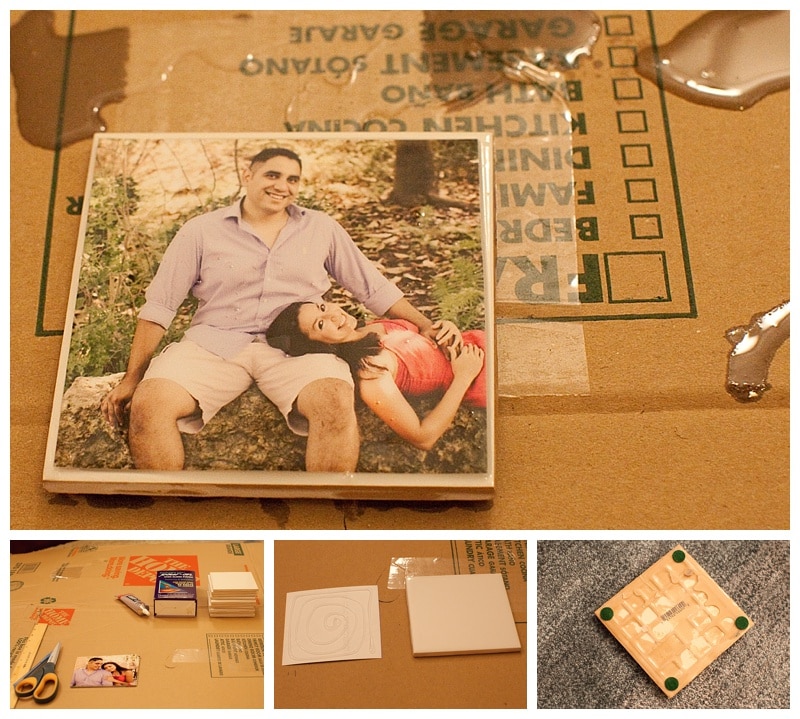
Directions to Create Your Own Photo Coasters
1. Glue your photos to the tiles. I put a piece of paper over the photo (so I didn’t cover the picture with fingerprints) and used the straight edge of a ruler to make sure it adhered securely and completely.
2. Mix resin mixture in a disposable container using a disposable mixer according to directions. (See my notes below for details on what NOT to do.) Pour a small amount of resin onto the photo-covered tile and spread evenly. I used a flat cake spatula to scrape off excess. Move finished tiles to a clean workspace to let tiles set and dry. Blow out any air bubbles through a straw if needed. (I didn’t have too many bubbles.)
3. Let tiles set. After 10 hours, mine were “soft set” and no longer sticky. I moved them to another cleaner area to finish drying. After 24 hours, they were hard set. After 48 hours, I felt comfortable putting the felt mounts on the back of the tiles
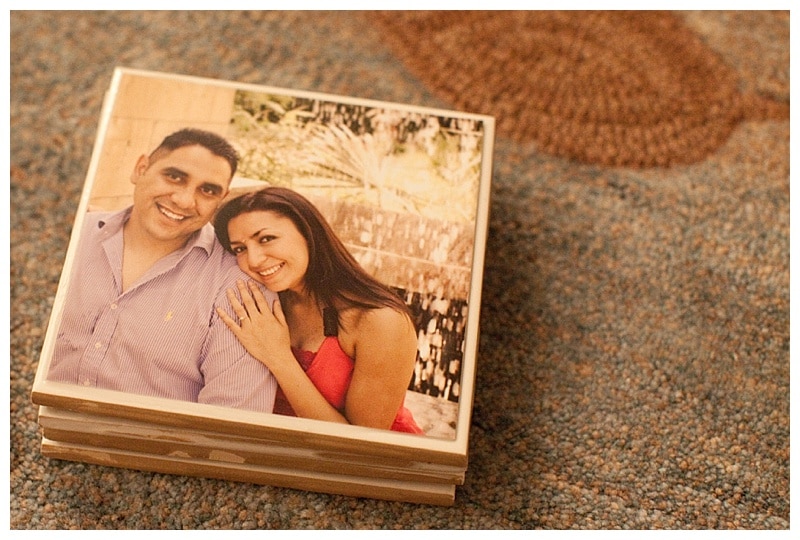
4. That’s it. Seriously. It’s one of the easiest projects EVER. They dry beautifully with a gorgeous glossy sheen.
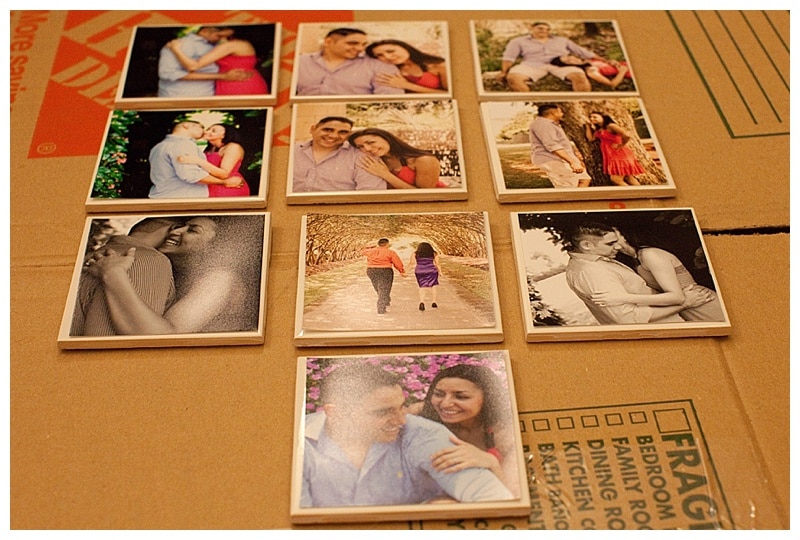
Notes on Making Photo Coasters:
If I had more time, I would have done these again just to redo the small imperfections that bugged me. I did learn a few things while doing this project:
- Use a glue that is ceramic friendly. E3000 is supposed to be, but I think there may be more adhesive glue for ceramics.
- Mix your resin in a disposable container with a disposable utensil. It’s really difficult to clean off things. I pretty much got it everywhere. I managed to mostly clean it off, but I also ruined a knife by not cleaning it soon enough.
- Less is more when it comes to the resin. I would use a disposable paintbrush to apply the resin. I think it would have gone on more evenly and smoothly with the paintbrush – and I wouldn’t have used as much. Or made quite as big of a mess.
- Make sure you transfer the coasters to a clean (covered) surface to try. If you look closely at my pictures you can see I left them sitting in the excess resin, which led to difficulties when trying to loosen them from the surface.
How to Gift It:
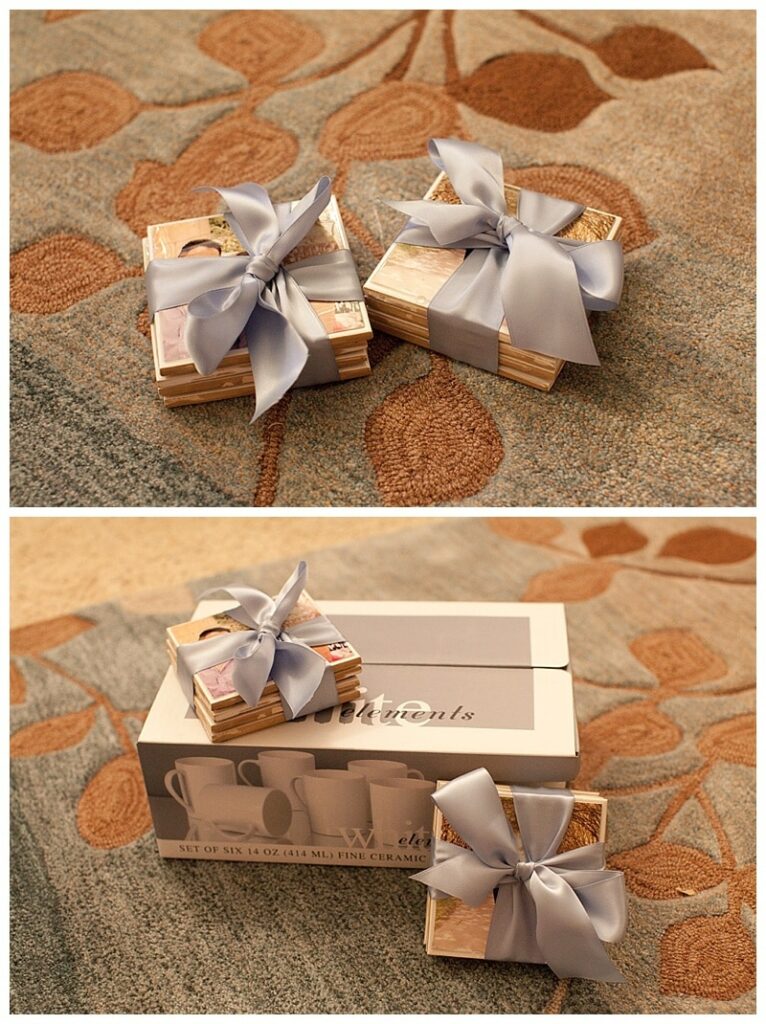
- Wrap the coasters up with ribbon in sets of 4! (I made 10, lost 1 to sticking on the surface, and didn’t want to give the awkward number of 9.)
- Add a set of white coffee mugs or coffee mugs from your destination. (These would be really fun with a variety of mugs from different European Christmas markets!!)
- In conclusion, I think this would be a great idea to do with all those travel photos that we keep taking!
I seriously love these! And I’m totally going to make them!
this is fabulous! i’ve pinned these coasters before too, but props to you for actually making them! it makes me want to try them for real too 🙂
Lesson I’m learning right now … make sure your photos are really, really down and secured and dried and STUCK because once that resin goes on, it’ll get under edges. Good thing I got two copies of all of the pictures. 🙂
Quiddity – you are so right!
It is good to have duplicates the first go around, because there are a ton of lessons to be learned!
What an amazing idea! They are useful and I’m sure they will treasure them for years to come!
Amanda @ Cupcake N Dreams
Hi Sara, it’s so wonderful to be back to blogging and connecting! These coasters are a genius gift idea. I can think of A LOT of family members of mine who would love to get them for Christmas!
That is a pretty awesome gift idea. I need to start thinking about Christmas. Argh. :-/