People are always asking me how to improve their photography skills. The first step is to get out of auto mode on your camera. Until you get out of auto mode, it’s going to be hard to get the pictures you want. Sure, you can edit them in Lightroom (and I definitely do), but I think it’s important to be able to take a good picture first. I always cringe when I see people over-editing to compensate for not knowing how to use their camera. You have so much more flexibility in editing if you master your camera settings.
Disclosure: This post contains affiliate links for tours and products I love at no additional cost to you. You can read my full disclosure policy here.
Understanding Photography Gear
You don’t need a super fancy (read: expensive) camera set up to take a good picture. My first DSLR was a Canon Rebel XTi. When I started doing some wedding photography, I upgraded to a Canon 50D. I eventually upgraded to a Canon 5D Mark 2 in 2010 and a Canon 5D Mark IV in 2018, and I’ve been shooting with those ever since.
The best bang for your camera buck is in the lenses. I’ve accumulated quite the collection in my camera bag. I started traveling with the Canon Nifty Fifty because it was affordable. As time went on, I bought a couple of used lenses when a wedding photographer I know switched to Nikon. And lately, I’ve been buying lenses from the Canon Refurbished site. If you’re going to take a lot of low-light or fast moving shots, you’ll want a faster lens with lower f-stop capabilities. If you’re going to shoot mainly outdoors, you can get by without L-glass. I have a mix of both, though my favorite lenses are L-glass because they give me the most versatility when traveling.
You don’t need to spend a lot of money on a camera to take good pictures.
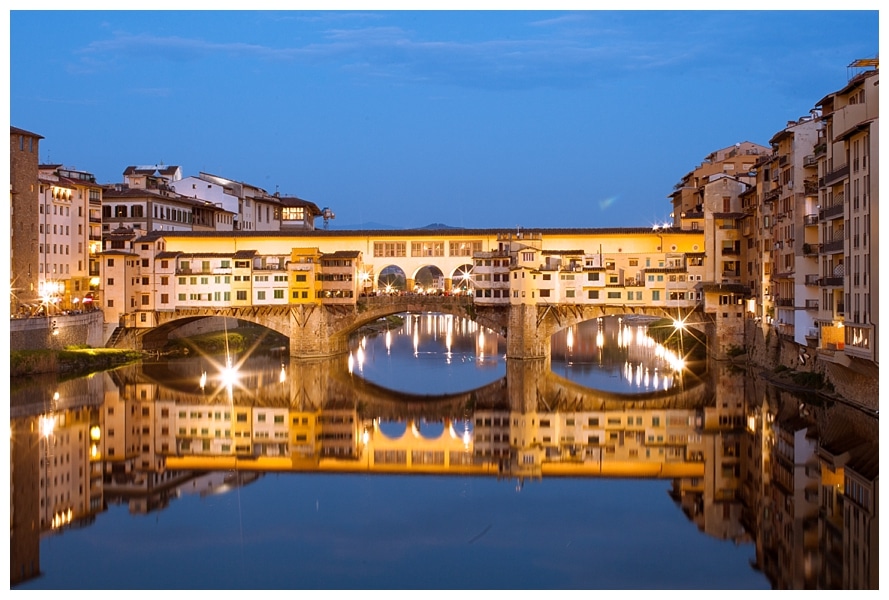
Understanding the Basics of Manual Mode
Believe it or not, there’s not that many settings to master to get out of auto mode and start taking better pictures. Once you master the basics, you can start playing around with your settings and learn what works for the types of pictures you want to take.
ISO
ISO is like film speed. Remember when you would purchase film for your camera and you had to choose between 100, 400, and 800? That’s what ISO is. While most digital cameras have a pretty wide range (my 5D ranges from 100-6400), it’s important to know that the higher the ISO, the more noise (grain) you are going to get with an image. You’ll start to lose clarity and sharpness as you go to higher numbers. As a general rule of thumb, I shoot at ISO 100, especially when I’m shooting outside. If I’m shooting inside and it’s dark, I’ll bump my ISO up to 400, 800, or sometimes 1600 – but rarely higher than that.
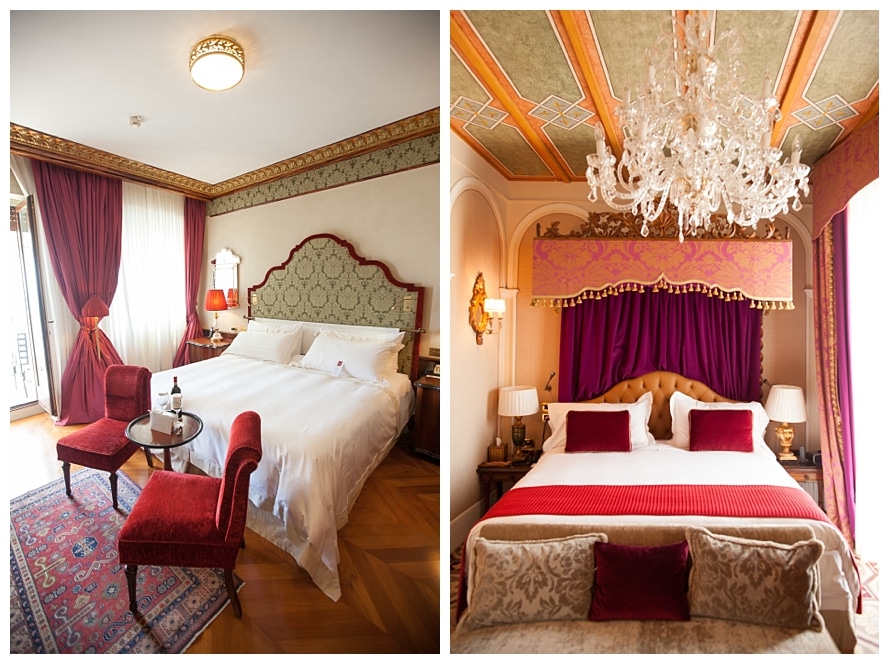
Aperture (or f/stop)
Aperture is essentially how big the hole is that lets light into your camera. This is a little counterintuitive, so stick with me. The higher the f/stop, the less light you are letting into your camera. The smaller the f/stop, the more light you are letting into your camera. Shooting at f/1.2 is considered to be “shooting wide open” and will result in brighter images than shooting at f/16, depending on your shutter speed.
As a general rule of thumb, I’ll set my f/stop at 8.0 when I start my day and adjust up or down, depending on what kind of mood I’m going for with my shots. If I want “blown out” or bright, white images, I’ll drop it down to f/4.0 or less. To create sunbursts or light “stars”, I’ll kick it up to f/14 or higher. If you’re looking for bokeh (or the blurry background to a sharp subject), it’s usually found when shooting with low f/stops.
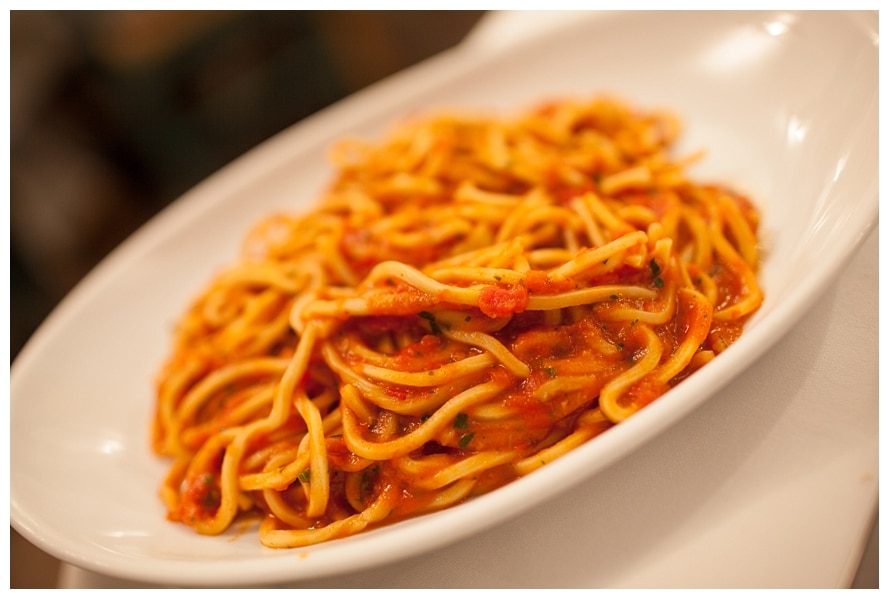
Shutter Speed
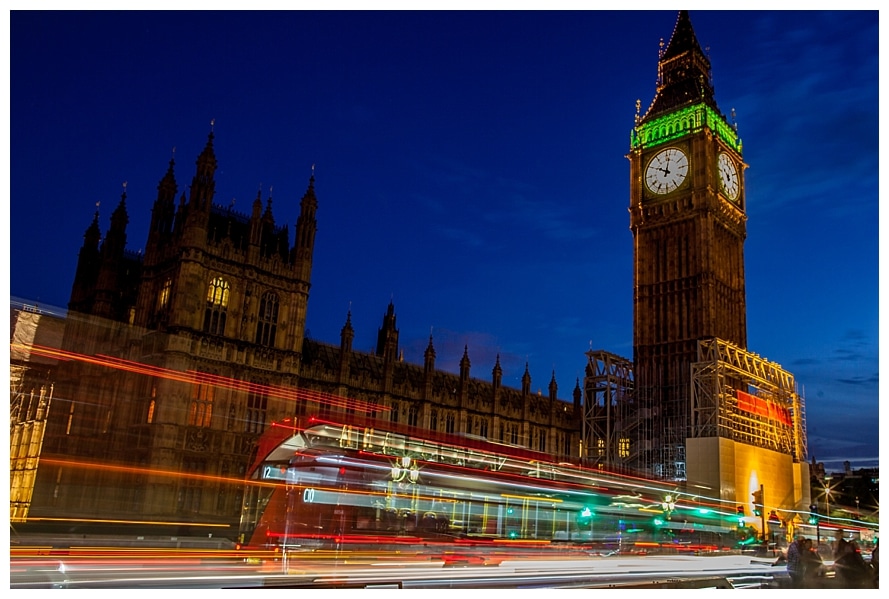
Shutter speed is how long your lens stays open. Obviously, the longer your lens stays open, the more light is let into your picture. Short shutter speeds result in darker images. For effective night photography, you will want to have long shutter speeds, but this will necessitate a tripod (or other stable surface) because it’s virtually impossible to not shake the camera. Even ordinary breathing or merely clicking a button can result in blurred images. If you’re trying to take pictures of sports, you’ll want a quick shutter speed (and a low f/stop to let in as much light as possible). To get a smooth water effect, you will use longer exposures. If you’re going for light trails, you’ll want long exposures. I find myself adjusting shutter speed more than any other factor because it is the most variable.
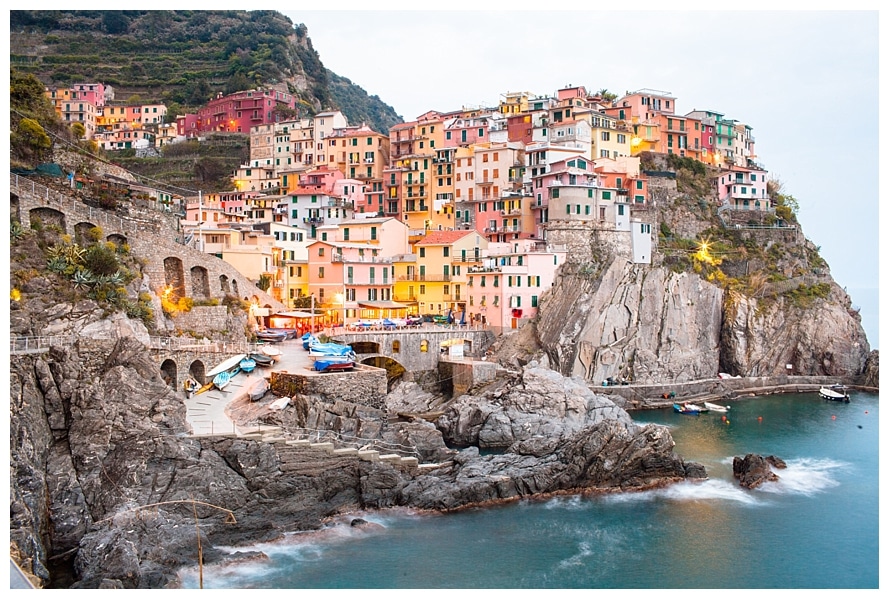
Changing your Camera’s Focal Point
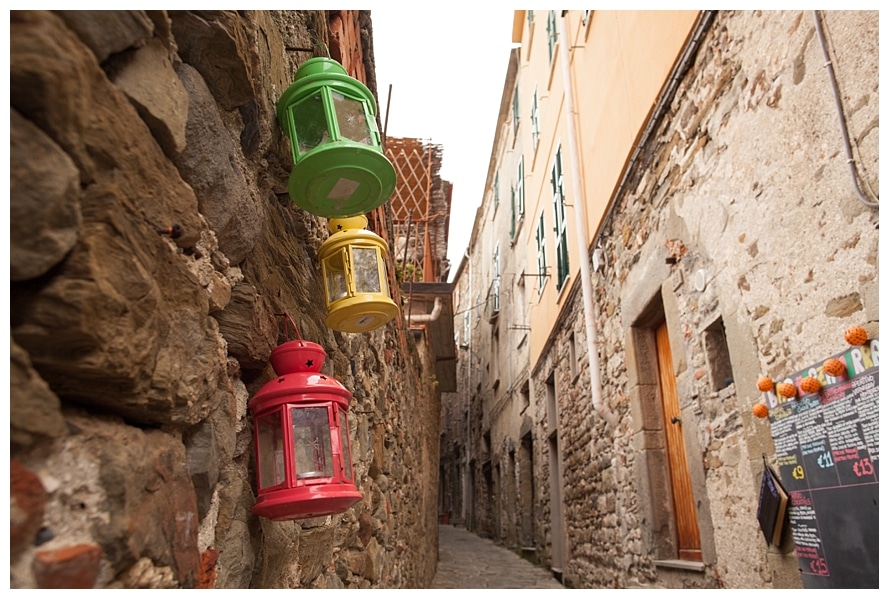
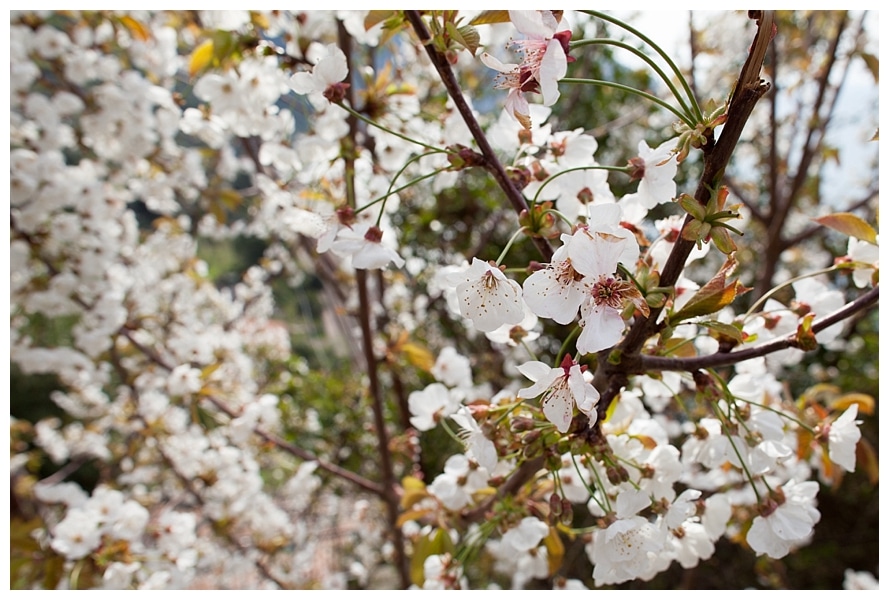
My camera uses a 9-point diamond shape setting for determine the automatic focus point. This is a place where you can exhibit the most control over your images (outside of the settings above). You won’t be able to change this any of the automatic settings, that’s why it’s so important to get out of auto mode and over to manual ASAP. By changing your focal point, you can control what piece of your image that you want to be sharpest. Sometimes that’s the middle, sometimes that’s the eyes (if you’re taking portraits), and sometimes that’s what alters your depth of field to give you great bokeh in your images. In the shots below, you’ll see that my focal point was shifted from the center to the side to empathize different focal points of the image.
Camera Settings to Set and Forget
RAW vs. JPEG
To give yourself the most flexibility, you’ll want to shoot in RAW instead of JPEG. The challenge of shooting in RAW, however, is that you will need post-processing software to convert your photos to JPEG. When I’m on the road and want to share photos quickly, I use Adobe Photoshop Elements to convert my RAW files to JPEG, abut for complete post-processing, I use Adobe Lightroom. RAW files aren’t compressed at all, so they will take up the most space. Most of my RAW files are about 22MB each. JPEG files are more compressed and will take up a little less room, but you won’t have as much flexibility in editing. Note, you’ll still have a lot, just not as much.
White Balance
Because I use Lightroom to edit my images, I typically just set my white balance to AWB (auto white balance) and move on. If it’s excessively bright, sometimes I’ll switch it over to sunlight, and sometimes I’ll switch it over to shade to see what the temperature difference looks like, but those are things I generally worry about in post-processing. (Even when I’m shooting at night, I leave it on AWB, instead of worrying about the incandescent light setting – I have an orange light removal preset that gives me the ultimate control in post-processing.)
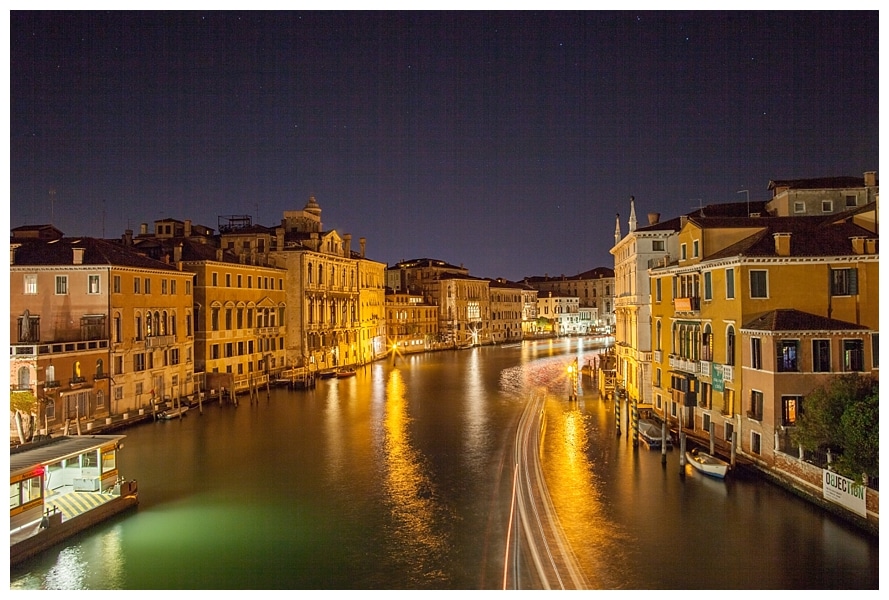
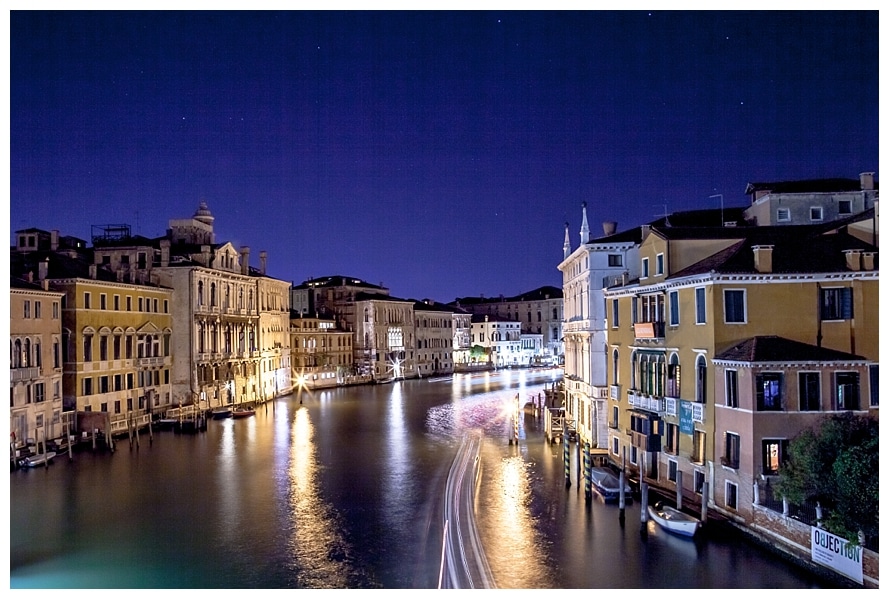
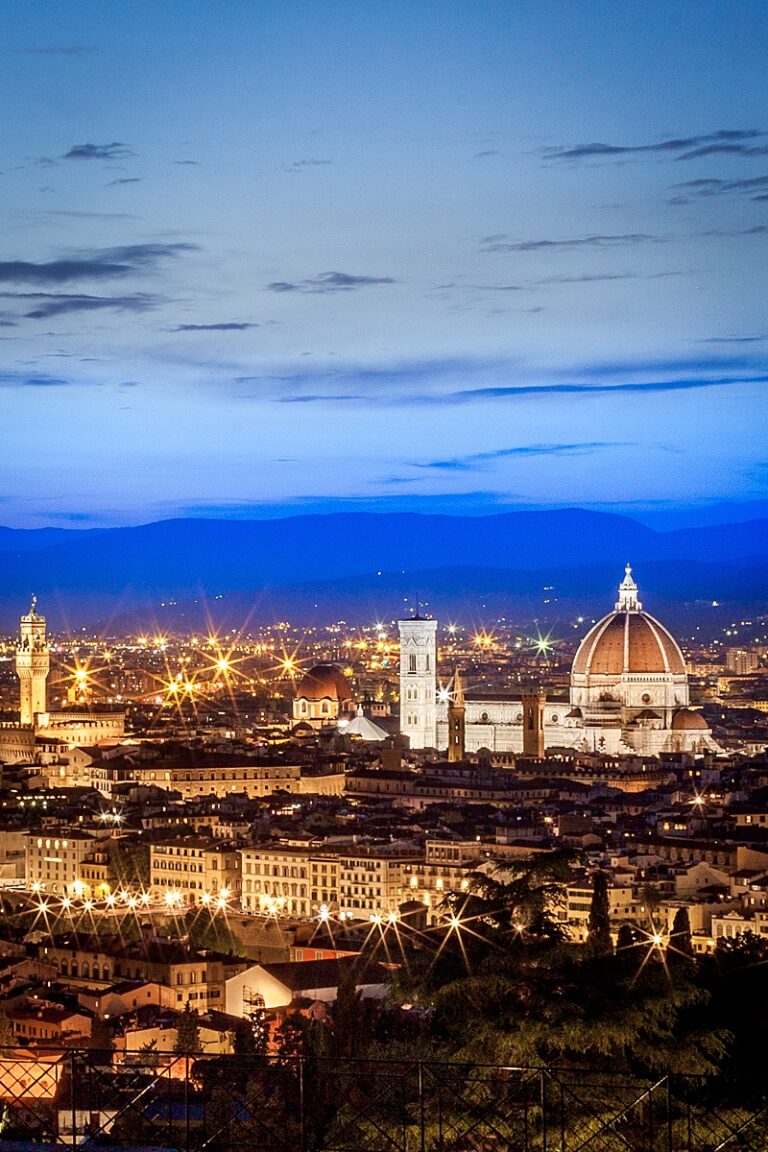
Ultimately, photography is a game of trial and error. You have to figure out what works for your taste. Learning to master your shutter speed and aperture settings will provide you the most flexibility in determining your photography style. My photography style changes based on where I’m shooting and what I’m going for from my images. Our honeymoon photos were bright images that captured soft reddish tones of Italy. When we went to Cinque Terre, I focused on capturing the bright, vibrant colors. When I photographed Venice and Prague on our most recent anniversary, I was focused on creating rich, deep colors that mirror the mood of the cities.
Recap: How to Get Out of Auto Mode
Basically, if you use a lower f/stop, you’ll let more light into your camera. If you leave your shutter open longer, you’ll let more light into your camera. A higher f/stop lets less light into your camera. If you use a shorter shutter speed, your lens stays open for a shorter period of time and lets less light into your camera. You have to play with these two settings to find the perfect balance to create the images you are looking for. If you want bokeh, you’ll want to shoot with a shallow depth of field (low f/stop) and choose your focal point wisely. For more clear landscape shots, shoot with a higher f/stop and center your focal point or use multiple focal points.
If you’re not sure what your settings should be and you don’t have time to get it right, you can switch over to Av (aperture priority) or Tv (shutter speed priority) modes, take a shot and see what the camera is doing with the other settings. Again, you won’t get as much flexibility with these modes, but it’s a good way to learn more about what direction to go with your settings.
This is a great post! I need to save this one.
I love that you put the settings with each of the photographs. I’m very visual in that way! I loved my old cell phone because I could put the camera in manual and get some amazing shots.
These are all such great tips! I got my first DSLR about 10 years ago and I never really played with the settings that much until a few years ago. It definitely takes practice but I can tell a huge difference in the pictures I took 5 years ago to the pictures I’m taking now.
Thank you SO much for sharing this! This is super helpful and I’m really trying to up my photography skills this year! m
Always love a good photography post! I recently just started messing with my focal point and it does make such a big difference. One thing I still can’t seem to get the hang of is shutter speed. So I’ve gotten lazy and been shooting on AV mode… tell me this is bad and force me to learn 100% manual lol.
Thank you for putting together this guide! It’s exactly what I need since auto is my go-to but my DSLR has so much more capabilities…Pining your post so I can really dive into the details on the weekend when I have time to experiment! Your pictures are always gorgeous so I can’t wait to learn more about photography in manual mode! Emily @ Martinis & Bikinis
Oh! That last shot with the sun flare! Gorgeous! (But I love sun flare.)
Most of what you shared in this post went over my head despite the fact that I frequently shoot out of auto mode. Personal opinion but you might want to break it down even further with examples. I.e. This is what you get with a high ISO; this is what a low ISO looks like. (Or can look like.) Etc, etc… Of course, I’m exhausted right now, so that could be the problem.
The thing I am particularly interested in is your editing style. I’d love to know how you approach editing, what filters you use, etc, etc… I just recently transitioned to using the Nik software and I am in love! Especially for HDR images. I’ve been seeking out HDR images from my past travel experiences just to take them through the software and see what happens. And since the software is free, if you don’t have it, you should definitely look into it. 🙂 Of course, I’m having problems with sharpness and noise, but that may be my shooting style … or I might be a pixel peeper. Who knows?
From your specs, it looks like you must carry around a tripod everywhere or have a really steady hand. Do you have a really light tripod you take when you travel?