Okay, I’ll be honest. This wasn’t my first attempt at sewing handmade Bucilla Christmas stockings. It’s my second. I abandoned my first stocking kit when I was disgusted with my inability to match things up, and then it got stuck behind some furniture temporarily being stored in the living room of our tiny apartment… (Amanda’s hashtag of #nostockingforyou! makes me giggle. Incessantly. For a week.)
Disclosure: This post contains affiliate links for tours and products I love at no additional cost to you. You can read my full disclosure policy here.
Handmade Bucilla Christmas Stocking Tips
1. Do yourself a favor. Get a compartmental storage container with a lid. Sort your beads and sequins into the compartments. You’ll thank me later, I promise.
2.. Use straight pins to pin your pieces before you begin trying to applique them. It works!
3. Buy true polyfill. Don’t try and stuff it with cotton balls. It doesn’t work the same. I know.
4. Buy a needle threader.
5. Do all of this before you start. Again, you’ll thank me later.
I won’t lie. I think I might have been too ambitious. See those tiny parts at the to? They almost drove me mental on Saturday night. But, I think it’s coming together quite well…. It’s amazing how much easier it is when I have everything I need BEFORE I START.
(Clearly, my embroidery needs help.)
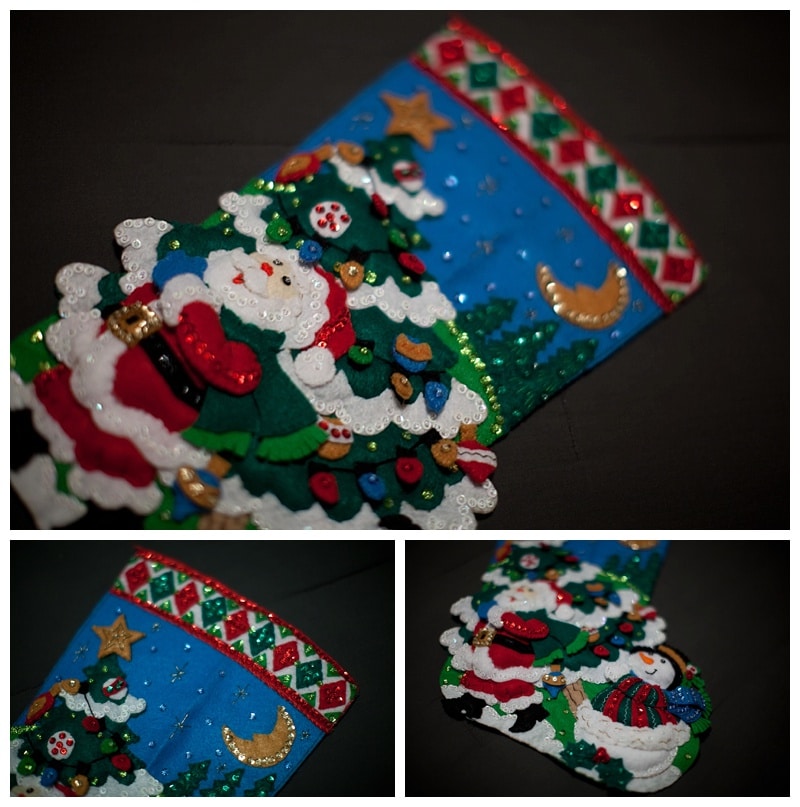
Stages of Making Our Christmas Stockings:
Excitement (!): I’m excited to see the Snowman. I think his jacket is adorable. It’s about the extent of my embroidery skills though. Is there a machine that can do this? Just kidding… maybe.
Pride (!!): My snowman has a head!!! Isn’t he cute?! I kind of love him. Notice the embroidery on his nose? I did that. All on my own. I’m pleased with him. 🙂 He’s so cute!!
Impending doom (…): …I have a ton of tiny pieces that are going to have to be embroidered and ornaments and lights to put on very soon. I know it’s coming…
Elation (!): Operation Stocking is DONE! (Well, aside from the backing and the name tag… but all of the details are DONE.) I can’t believe it.
Joy (!!): I LOVE it. I can’t wait to finish it up and use it this year!! Also, MLo was asking me about it this morning – she LOVED it. And Tom is pretty impressed with my skills, too.
Tips for Making Your Homemade Stockings:
-Don’t up-end your organizer. It doesn’t work out to your benefit… I’m not sure how mine got flipped upside down, but it did, and it’s a mess. And the pieces are too small for me to REALLY want to sort out. Doh.
-If you lose a piece (and I did), contact Plaid and ask them for a replacement. I lost an elf head and knew it would be a disaster if I tried to freehand it. I tweeted them and received a replacement within a week. BEST CUSTOMER SERVICE EVER.
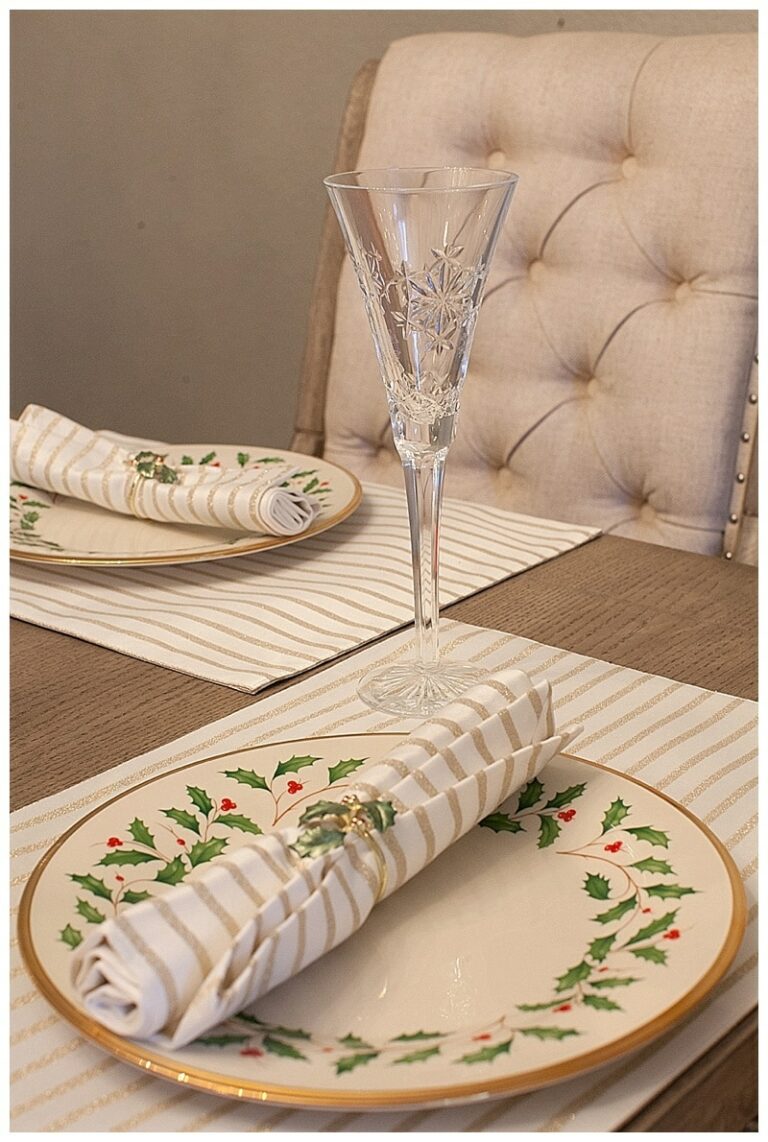
I don’t think this is perfect by any means, but it has character… (Pretty I sure I used that excuse when my babysitter in 2nd grade commented on my wrinkled clothes. I got it from a Sweet Valley High book. She thought it came from my mom. I realize now that was not a compliment. Rude.) It does make me incredibly happy though… and it’s a way to carry on some of the traditions of my childhood while incorporating others into them, too! I love how they they look with our Christmas decor!
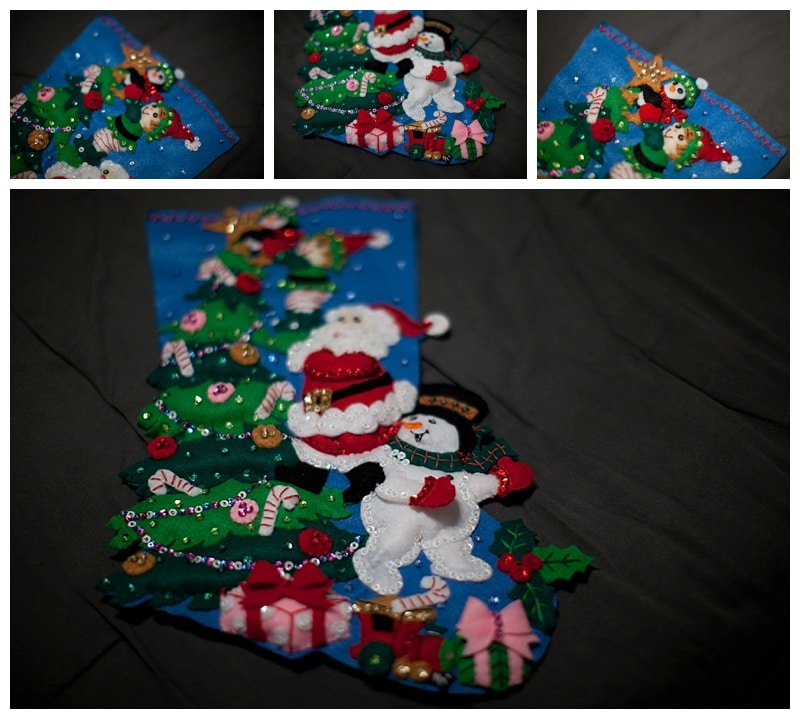



hi! i am working on the same stocking you have completed, with the tree and snowman/santa/elf… Question: How did you work out the string of lights? Did you wrap the cord stitch all around the front and back? or just a few stitches to tack down? and then with the sequins- did you just do one thread and ‘loop’ it around the cord?
Thanks!!
HI. I live in a humid country and just finished a Big Bucilla X-mas tree skirt. I was wondering if you have any ideas on how to store it? Should I wrap it in tissue paper. Any tips will help. Thank you!