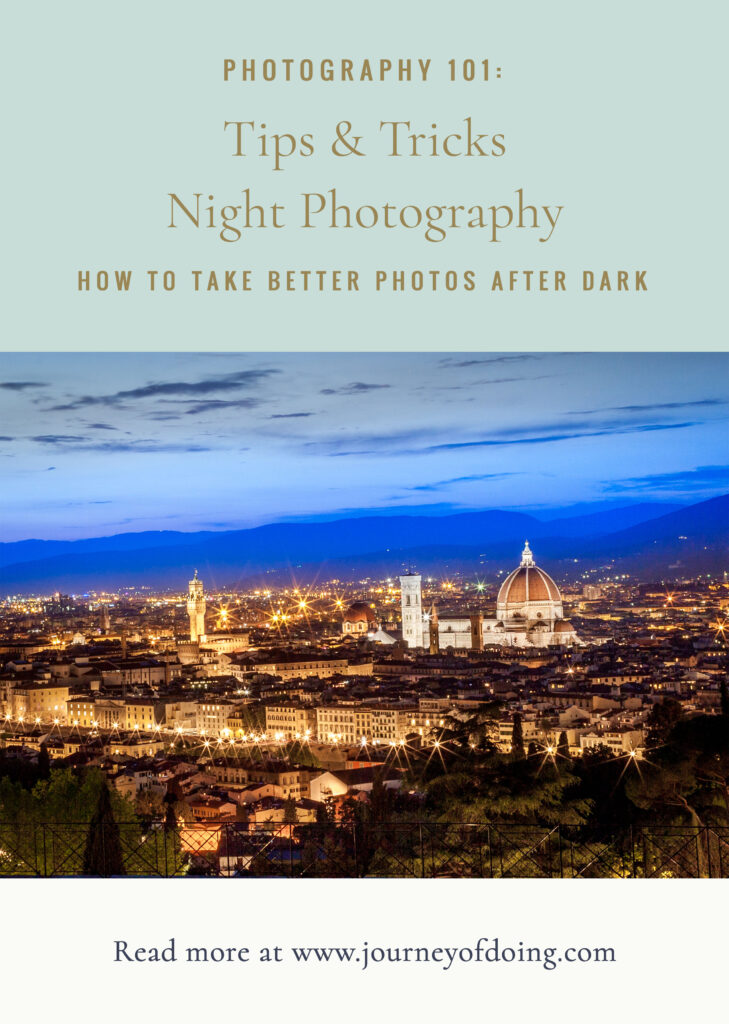
One of my favorite things about traveling is photographing cities at night. There is something magical about cities at night. Whether capturing iconic landmarks or seeing things from a different perspective, I try to take some night shots everywhere I go. It’s definitely been a learning process for me over the years, so I thought I would share some of my easy night photography tips to help you start to improve your photographs today!
Night Photography Tips
Find a steady place to shoot
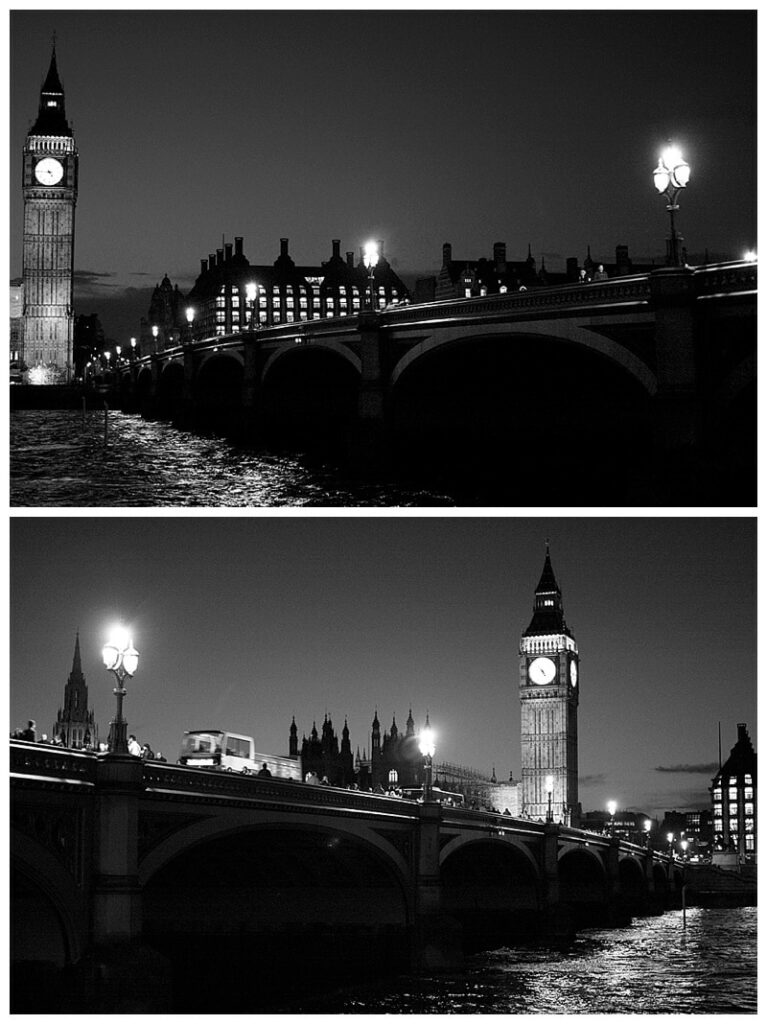
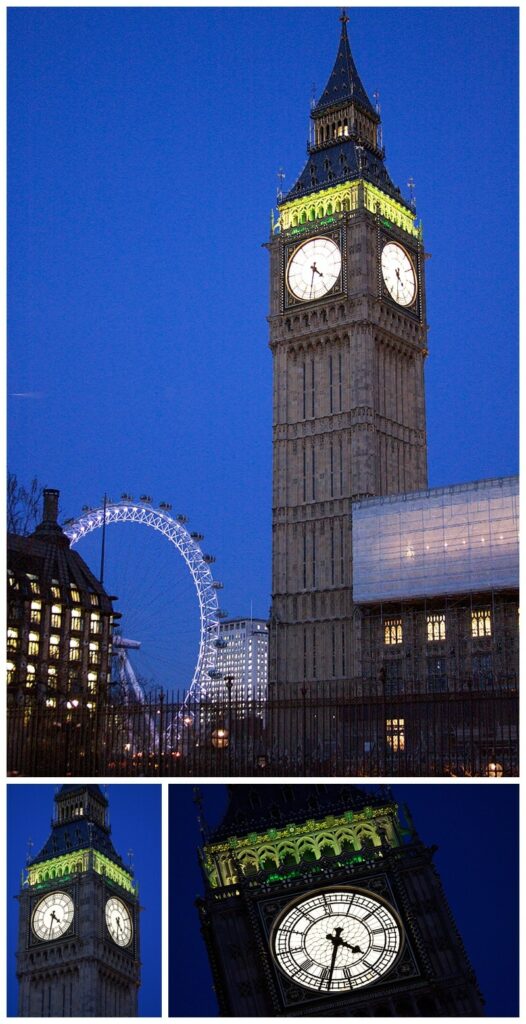
Night photography typically requires longer exposures, so you’ll want to find somewhere steady that you can place your camera. I don’t travel with a tripod all the time, so I’m always looking for benches, posts, sidewalks, trash cans, etc. to place my camera on. I use coins to prop my lens up so you can’t see what I’m shooting from, so having some pennies with you isn’t a bad thing. (The pictures below were taken on the retaining wall overlooking the Thames. Easy enough!)
Know the basics of shooting in manual mode
Did I just scare you off? Don’t worry – I’ll run through a few photography basics with you right here.
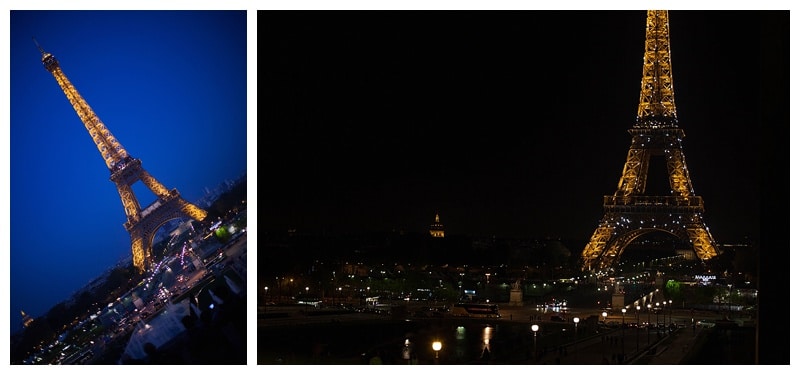
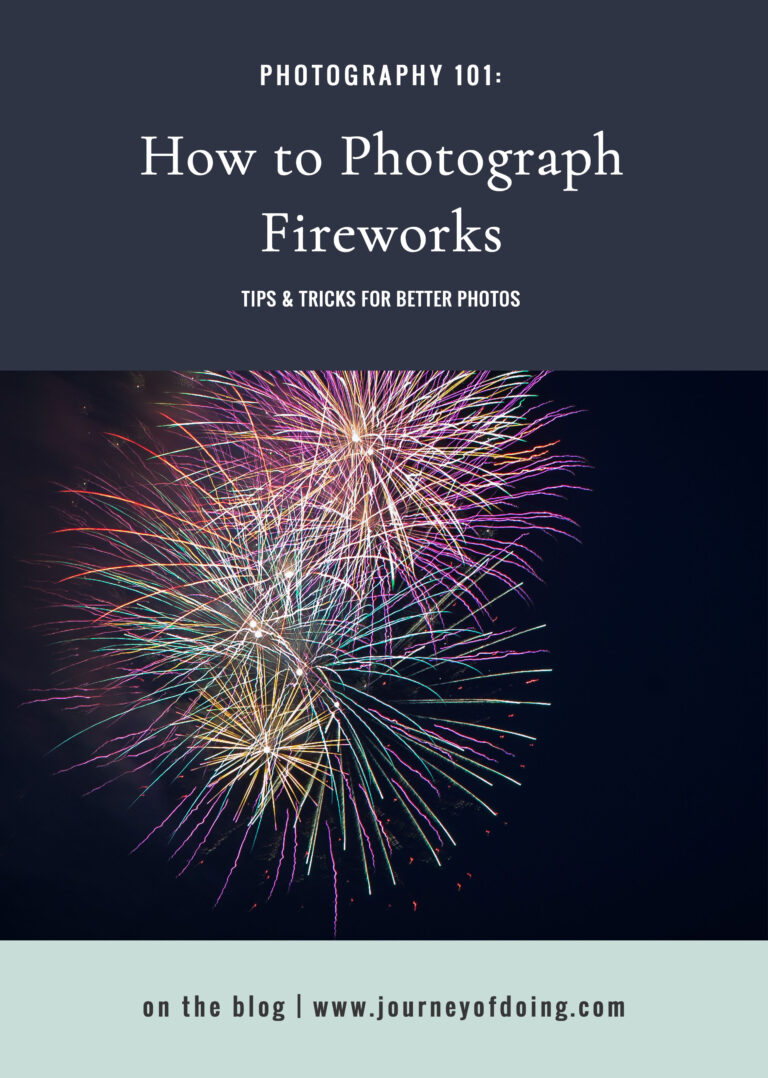
- First, your f-stop (or aperture) is how much light is let into the lens. Typically, the smaller the number (1.8 for example), the more light you are letting into the lens. The higher the number (f/16 for example), the smaller the opening for light. This isn’t to say that you should always be shooting on your smallest f-stop. You can (and should!) play with it. For example, these two pictures of the Eiffel Tower used a respective f-stop of 1.2 and 4.0 or so. When I shoot with low f-stops, I’m usually trying to focus on one aspect of an image and blur out the background. If you shoot with a higher f/stop (like I do when I photograph fireworks), you will need a longer shutter speed to let light into the lens!
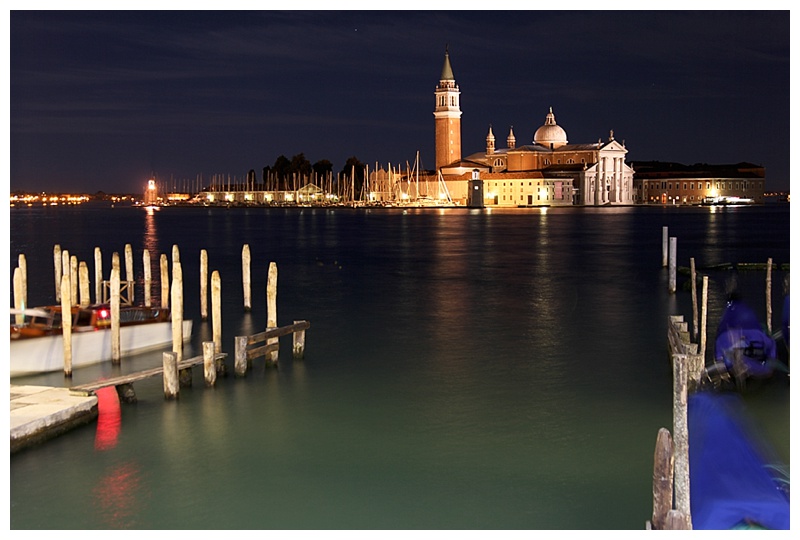
- Second, shutter speed (T) is the amount of time you are leaving the lens open. If you’re looking for light trails (or water trails or firework trails!), you’ll want the lens open (I usually do 10-15 seconds). If you’re looking for darker and more dramatic photos, you’ll want it open for less time. This is really when camera stability comes into play because you’ll be prone to camera shake (blurriness) the longer the lens is open. I’ve found it almost impossible to hold my camera perfectly still for any amount of time, so get creative and prop it up somewhere! If you have a self-timer (typically 2s or 10s) shutter release mode, I like to use this, too. That means you can press the button and step back before it actually shoots, minimizing camera shake.
Don’t Be Afraid to Experiment
Don’t be afraid to experiment to capture different colors of the changing night sky. You’d be surprised at the colors that emerge that we can’t always see with the naked eye! My mom makes fun of my raw photos because you can see the changing light as I try and figure out exactly what shade of dark I want the sky… I typically like to start wandering around during twilight (blue hour) and shoot until I get tired of it. The later I shoot, the more dramatic the images are (particularly because people tend to disappear and minimize disruption to my shots).

Change your focal point
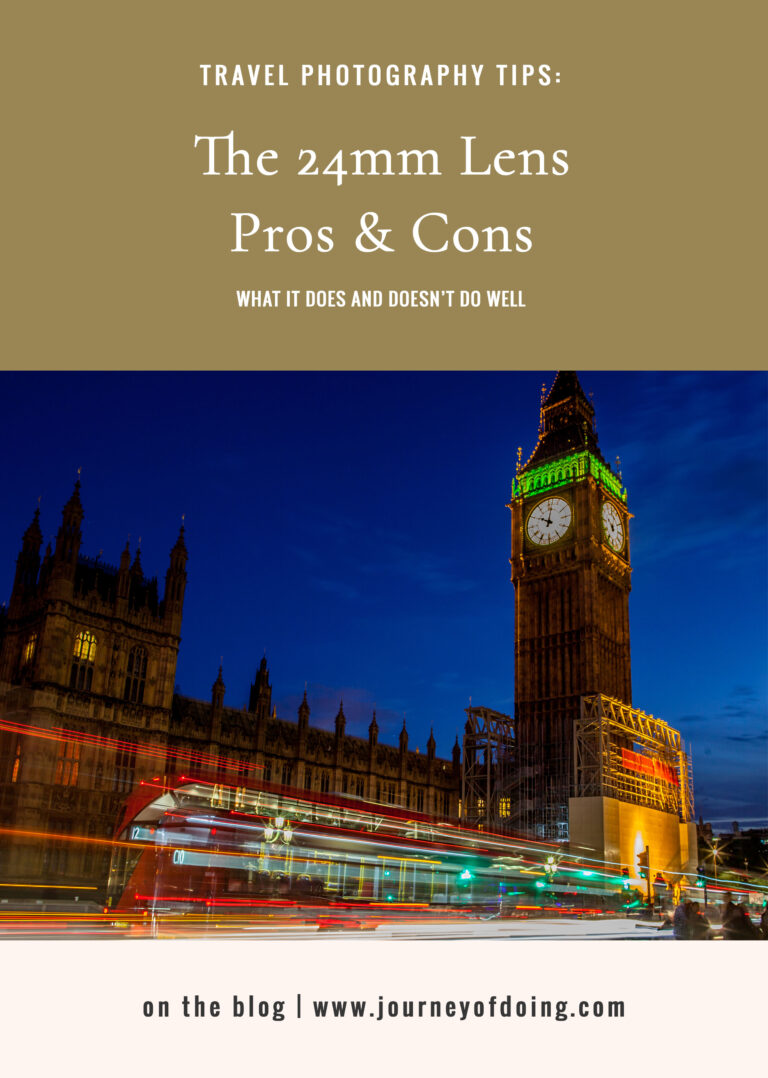
My camera has a 9-spot focal point system that allows me to choose what I want to focus on. I rarely let the camera choose the focal point in auto mode. I’m constantly moving it around to focus on different things. This does become increasingly more difficult at night, but again, play around with it! Sometimes I’ll focus on a street light. Sometimes I’ll focus on a monument. Other times, I’ll focus on a tiny detail like the clock face of Big Ben. By choosing different focal points, your images will change to accommodate the amount of light available at that particular focal point.
Look for different angles
In most of my travel photography, you’ll notice that I rarely shoot straight panoramic images. Sure, there’s a reason that all stock photographs are of iconic images, but I spend a lot of time appreciating the little details of what I’m photographing. Like the individual arches of the Coliseum or a portion of the Eiffel Tower. Don’t get locked into thinking that the only good photographs are the iconic ones you see in every travel advertisement. Find things that are beautiful to you and capture them. I think they make great conversation pieces too – I mean, I had no idea that the street lamps along the Thames are actually shaped like fish, and I’ve overlooked the smaller pyramid at the Louvre at least three times! I love telling people to look for those same details that you will never see on television or in a standard magazine shot. Night photography is no different – look for ways to make the image unique to you. Get creative. Play with it! 🙂
Do you have any night photography tips that I missed? What’s your favorite way to photograph cities?
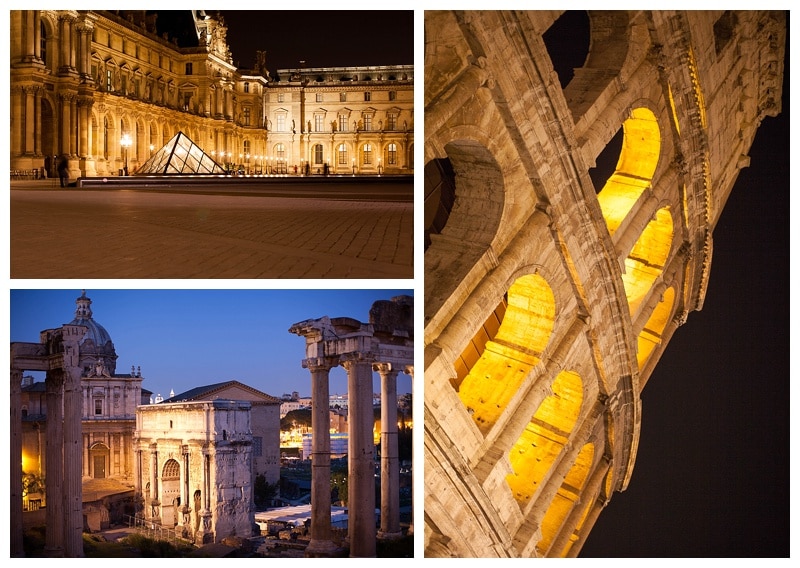
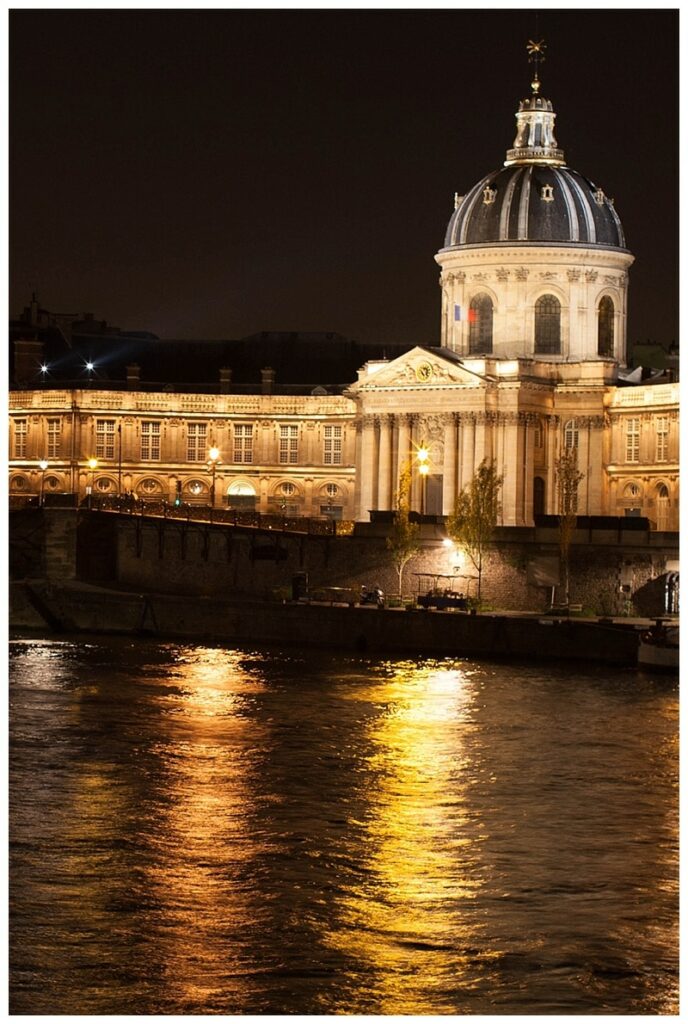
Just pinned this post because your pictures are absolutely fantastic!! I took a photo of the eiffel tower at night and it’s hands down one of my favorite pictures ever!! I love the shot you took of big ben with the london eye in the back – gorgeous girl! xo, Biana –BlovedBoston
Oh my gosh…these photos are STUNNING! Truly breathtaking! I will read and re-read all the photography tips I can find! Thanks for sharing this!
I pinned this. I’m terrible at night photography. I hope I can learn from you, these pictures are wonderful! I do have a tripod and I need to use it more.
Great tips, and Great photos! I love the unique angles you find.
Great tips! I love night photography as well… especially during Blue Hour right before it gets completely dark. This last trip, I brought my tripod with me and it was great! I thought I would be the only one but in Salzburg, we saw 2-3 other people walking around in the dark tripod in hand 🙂 Thanks for linking up on Travel Tuesday 🙂
you are seriously the queen of night photography. and travel photography in general. i just cant even begin to tell you how amazing these are!
As always your photos are amazing but at night – this takes talent! Mine always come out SO terrible at night so I’m definitely saving these tips!
I really struggle with photography. I love it, and I’m rarely caught without my camera, but I tend to take horrible pictures. The other night we were all out in the yard playing and I was really trying to get pictures of the kids by the fire, but they all turned out terrible. Next time I’ll try these tips. I have REALLY shaky hands, making almost any task requiring the slightest bit of steadiness even more difficult. I’m always setting my camera down to take pictures, but had never considered propping up the lens so you couldn’t see my prop. This will help me so much, thank you!
I love those photos! I feel like theyre postcard quality. Thanks for the tips!
These photos are beautiful! And thank you so much for the fabulous tips. I too have pinned this so that I can use it as a reference for when I try!
Your pictures are incredible! Of the three cities, I’ve only been to London and the way you captured Big Ben is gorgeous! Thank you for sharing!
Those tips are really helpful, thank you so much for sharing! I love taking pictures at night as well, but I hate carrying around a tripod. My boyfriend is master in propping up the camera in the weirdest places, and I often worry that it might slip out of his hands and down the bridge/wall/window…:D
Love these tips! I usually leave my camera at home at night, but I might need to start packing it with me! Great photos!