For awhile, I’ve been trying to figure out how to share more photography content and information on my blog. I get a lot of questions about cameras. The truth is, good photography has less to do with the camera and more to do with the lens. It also comes from knowing how to use your camera. My photography style changes from trip to trip, which means I have a nimble collection of lenses. (I’ve come a long way from expecting 50mm travel photography to be enough for me.) In attempt to help demystify which lenses to use, I am starting this series to share more about the capabilities and limitations are of different lenses. I don’t really have a vision for this yet, so if there’s something that would be helpful to you, please drop me a line!
Disclosure: This post contains affiliate links for tours and products I love at no additional cost to you. You can read my full disclosure policy here.
Photography Basics
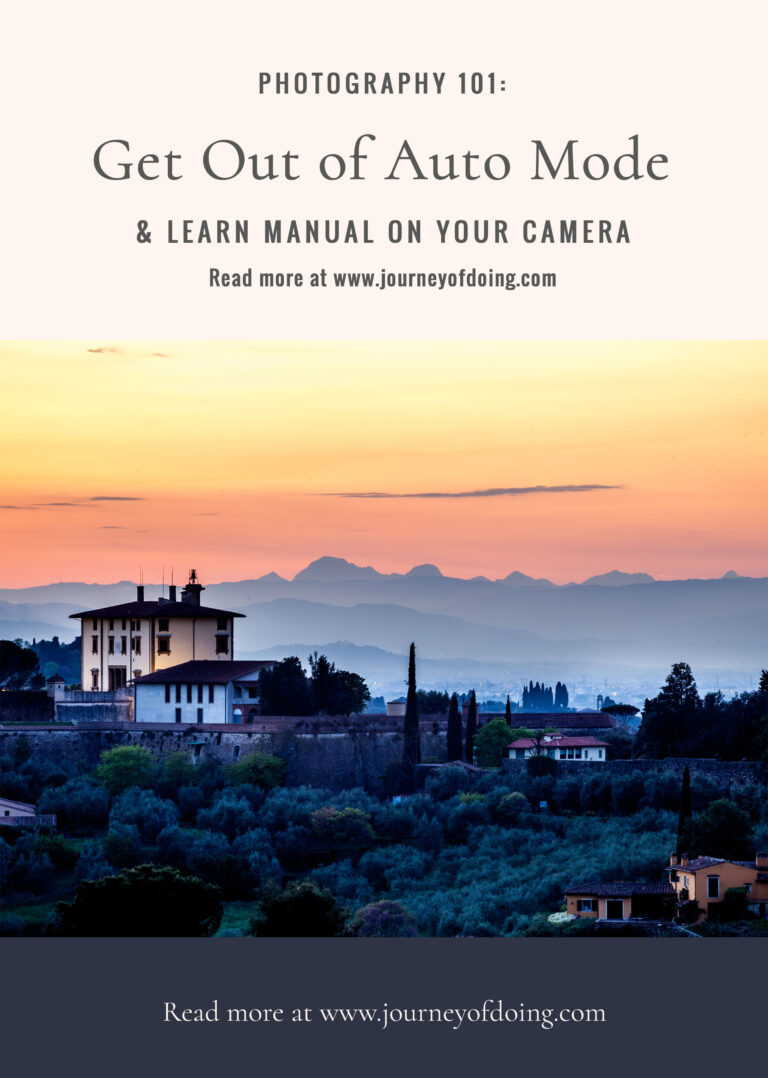
If you aren’t sure how to use your camera, start by reading my post on how to get out of auto mode on your camera. To truly start improving your travel photography, you’ll want to understand how the f/stop (AKA aperture), shutter speed, and ISO work together to create beautiful images. You can get good images in auto mode, but they aren’t always perfect. Auto mode doesn’t allow you to control your focal point. Bumping up the ISO creates grainy images. Opening the shutter as wide as it will go in low light situations compromises the sharpness. TL, DR: There is always something to learn.
For reference, I currently shoot with Canon 5D Mark IV. I purchased a Canon 5D Mark II after I slipped and fell with my camera and needed to shoot a wedding while it was in the shop. Before that, I used a Canon 50D. And, when I started digital photography, I used the Canon Rebel xTi for several years. I mention each of those cameras to help you understand that you don’t need the most expensive camera to be successful at travel photography. I use Canon Price Watch to watch for the best deals on gear, especially around Black Friday.
50mm Travel Photography Basics
The 50mm lens is one of the first lenses I purchased when I got serious about photography. There’s a reason that it’s called the “nifty fifty.” It’s nimble, flexible, and it works great at different skill levels. There are three popular versions of this lens with a range of f/stops. You do not need the most expensive version of this lens to start with. In fact, I purchased the cheaper version when I was still learning my camera. I didn’t know if a prime lens would be for me. After I started getting the hang of it, a photographer I knew was selling all his gear and I purchased several lenses from him. (The Canon refurb site is my best travel photography hack for lenses. I’ve never been disappointed when the quality of their lenses. When they offer an additional 15% off their sale prices, everything is a steal.)
Canon 50mm f/1.8, Canon 50mm f/1.4, Canon 50mm f/1.2L
Note: Learning to shoot with prime lenses has a learning curve. Most people are used to a lens with a varying focal length, but prime lenses require you to use your own two feet to frame the perfect shot. Now that I’ve mastered prime lenses, I prefer the images to those created with lenses of varying focal lengths. This is a personal preference and that’s okay.
Pros of the 50mm Travel Photography Lens
As far as 50mm travel photography goes, this lens is pretty flexible. It does well with sweeping landscape photography and it can create beautiful portrait photography. If you have small children, it is a great lens for getting down on their level. Whether you use it on a full-frame sensor or not, it can provide some capacity for capturing architectural details that you would use a zoom lens for in other circumstances. (I find that it’s a particularly great lens to photograph the ceilings in cathedrals.) As a travel blogger, I like to use it in restaurants for easy food photography. You don’t have to contort yourself to get great pictures of food. All versions of the 50mm do well in low light situations. (Remember: the lower the f/stop number, the more light that can go into the lens – and the higher the price!)
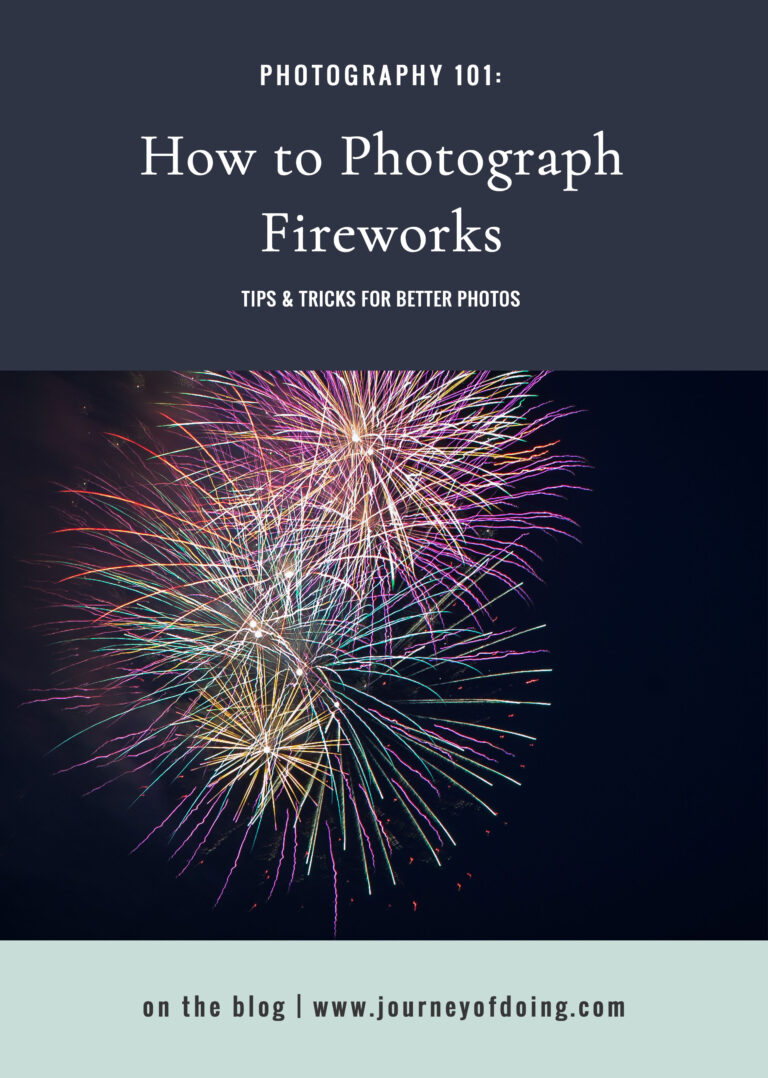
TL;DR: Use the 50mm lens when photographing sweeping landscapes, architectural details, food photography, and portraits. It also does well with fireworks but you should read more about how to photograph fireworks before expecting the lens to do all the work. If you’re looking for bokeh (the “blurry background”), this lens does well with it. It takes practice though.
Cons of the 50mm Travel Photography Lens
While I used the 50mm prime lens exclusively for several years as my go-to lens for everything, it does have a lot of limitations when it comes to travel photography. This is not a wide angle lens. If your goal is to take photos of yourself enjoying your vacation, a fixed lens of a 50mm can be limiting. The distance required to get full-body shots of adults into a frame can be challenging, particularly in crowded locations. If you’re asking strangers to take photos of you, the average passerby is confused when they can’t zoom in and out to take the photo. You’ll end up with a lot of half-body shots. (These are lovely but might not be what you are looking for.) I don’t love this lens for street photography.
If you are a travel blogger, it will be difficult to photograph most hotel rooms using the 50mm lens, especially if you are not using a full-frame sensor.
One last thing to note, I shoot with the Canon 50mm f/1.2L. The weight of this lens is significant. Certainly, there are much heavier lenses, but if you’re upgrading from a kit lens, this takes a bit of getting used to.
TL; DR: This is not the one lens to use for travel photography if you want to photograph yourself on vacation. It’s definitely not a selfie lens. If you need to photograph full details within short distances (i.e. small hotels rooms or home details), this is not the lens for you.
50mm Photography Examples and Discussion
Blue Hour Photography
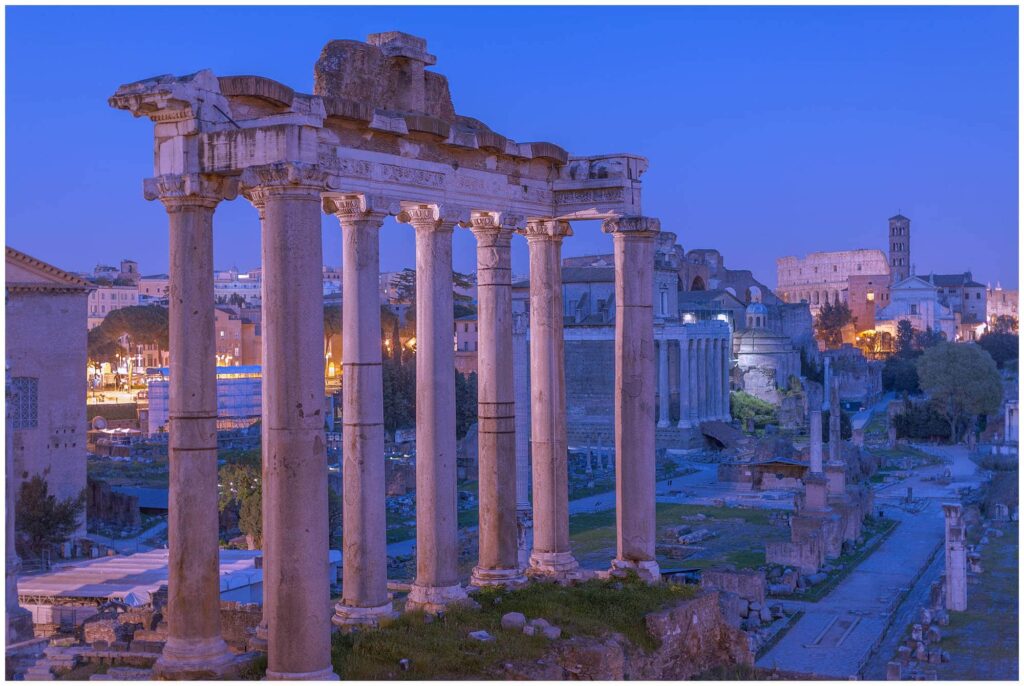
This photograph pushed my personal limits in “quick” photography. We were on a tour, so I didn’t have a tripod with me and I didn’t feel comfortable shooting long exposures. Instead, I propped my camera lens up using coins and a nearby wall and dropped my f-stop down pretty low. You’ll notice that I often keep the ISO low because I don’t want to lose the sharp details in a photograph.
Sunset and Blue Hour Photography
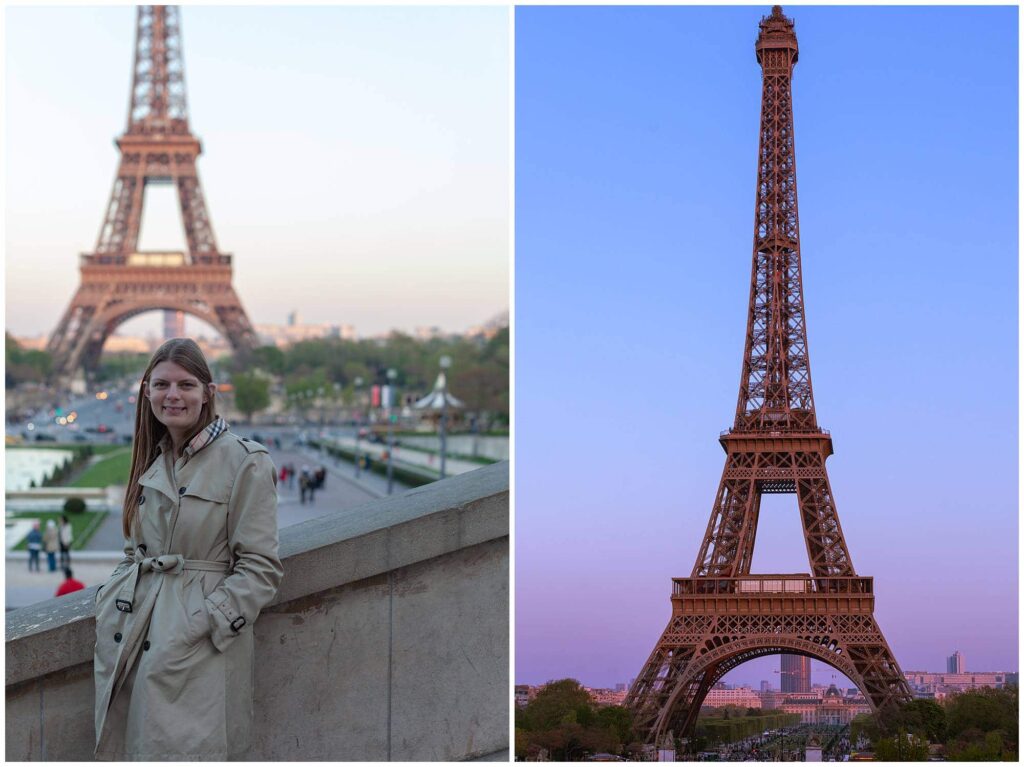
These photographs do a great job of illustrating the benefits and limitations of the 50mm lens. These photographs were taken in Paris from Trocadero. Trocadero is still/only a mile from the Eiffel Tower. You cannot see the entire Eiffel Tower in a single shot. Most of my raw photos were shot at an angle in an attempt to capture the entire tower.
On the left, you’ll notice the beautiful portrait photography. My husband is not an instagram husband by any stretch of the imagination, but I am in focus. You can see the bokeh with an f/stop as high as 2.8, proving that you don’t need the 1.2L for beautiful portraits. If he wanted to let more light in to prevent the dark shadows, he could have adjusted the shutter speed but he’s not a professional photographer and wouldn’t know to do that.
On the right, you’ll notice the sharp details achieved by bumping up the f/stop. I dropped the ISO back down to keep the beautiful colors of the sunset. Light changes rapidly during sunset and blue hour, so a tripod would have been helpful. If I was still learning my camera, I might have set my camera on aperture priority mode and allowed the camera to do the rest.
Golden Hour Photography
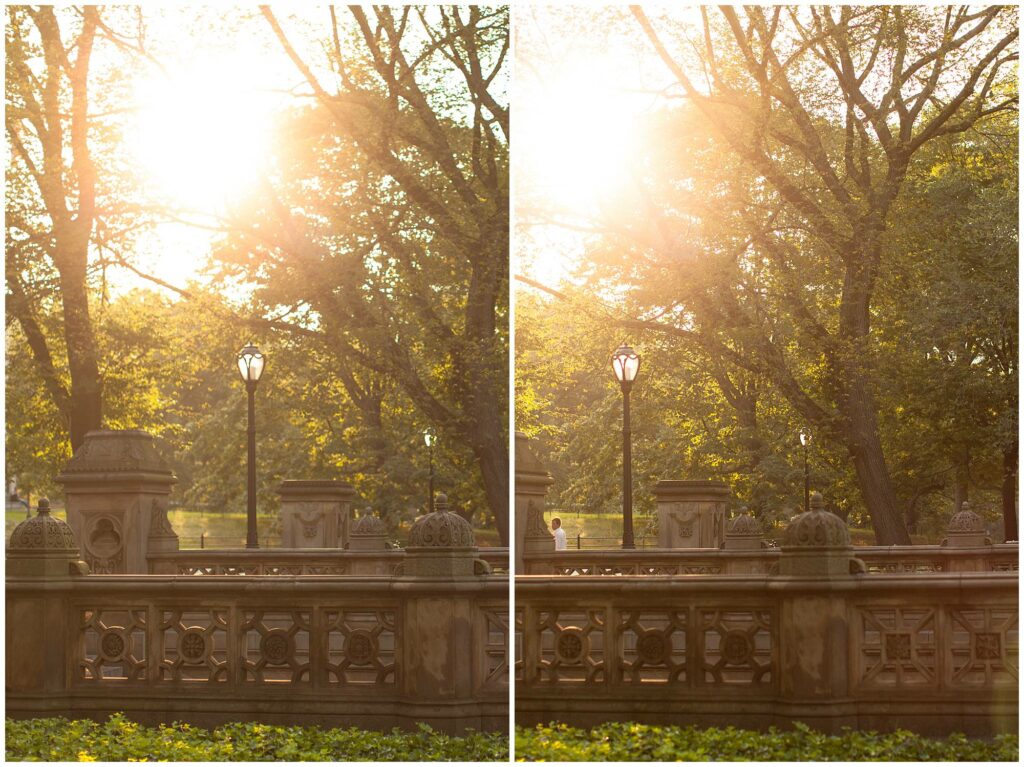
I left these two photographs in here to show that you don’t have to get perfect every time. While you can see a little bit of difference in the sharp details of the photograph on the right, the left photo is almost identical. In this case, I was more concerned with the beautiful golden hour light in Central Park. Sometimes you’ll get almost identical images by changing small things. (This shot was taken horizontally, but I cropped it vertically to get rid of the sun flare that my lens picked up from shooting directly into the sun.)
Food Photography
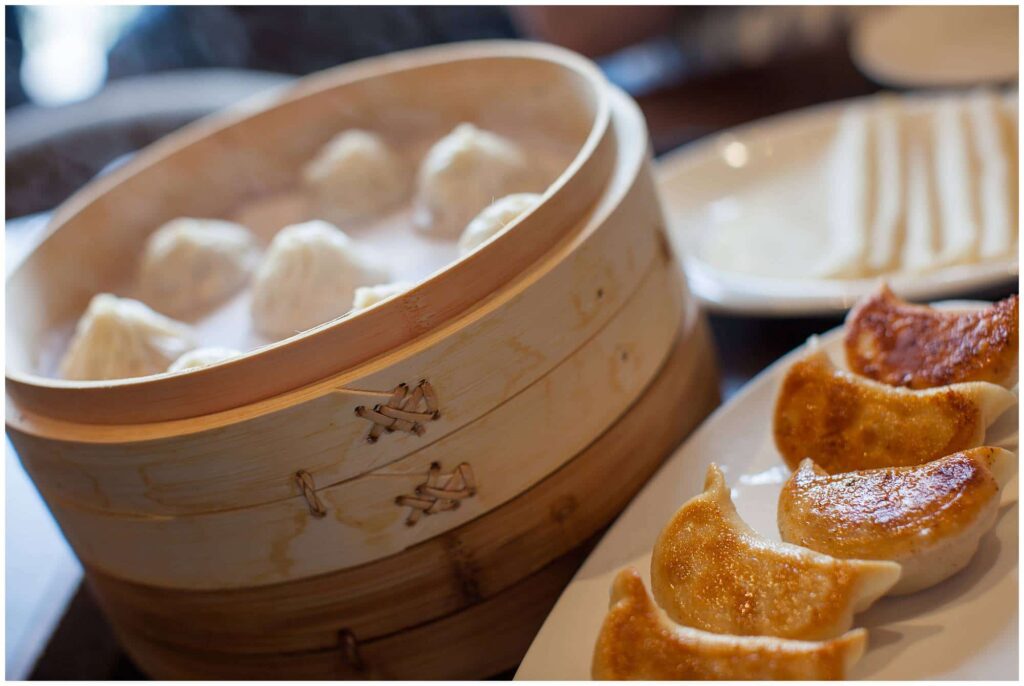
I HATE being obvious about food photography. Nothing makes me feel more awkward than jostling around in tight restaurants to take photographs of food. I refuse to change lenses in the middle of a meal either. Whatever is on my camera is what you get. The 50mm lens does a great job of allowing me to take photographs of food quickly and without being too obvious. (I refuse to reset an entire table to take photographs of food. Sometimes Tom and I will switch plates, but I prefer to get to the business of eating.) While you can see the limitations of the 50mm lens in this photo, you can also see the beauty of the details.
Night and Low Light Photography
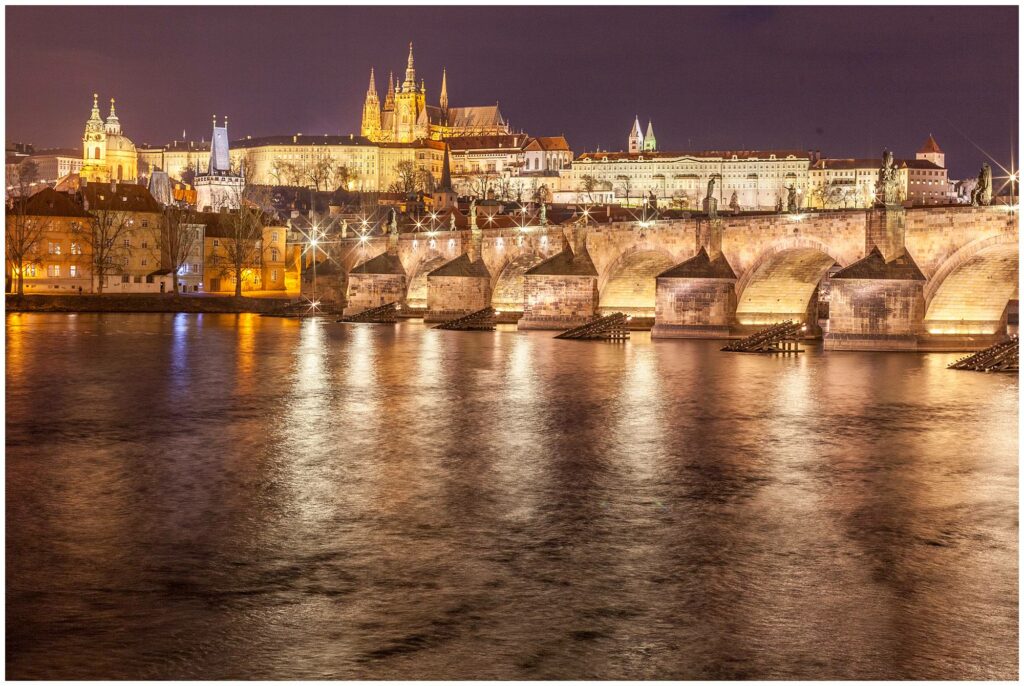
This photo was taken on a very cold, very windy winter night in Prague. (You can tell by looking at the water.) I bumped the f-stop up significantly because I wanted to capture as many details of the castle as I could. The shutter speed was a little bit long, but I didn’t want to take my gloves off to keep manipulating the dials. (If you find gloves that work well for photography, I’m all ears.) I did crop the shot in post processing, but everything else is SOOC (straight out of the camera).
When I shot with a kit lens and my Canon Rebel, I purchased filters to create the “star” effect on lights. Now I know that longer shutter speeds do the trick, no filter required. If I wanted to reduce the amount of light in this photo, I could have dropped my ISO to 100 or 200 or reduced my shutter speed to let in less light.
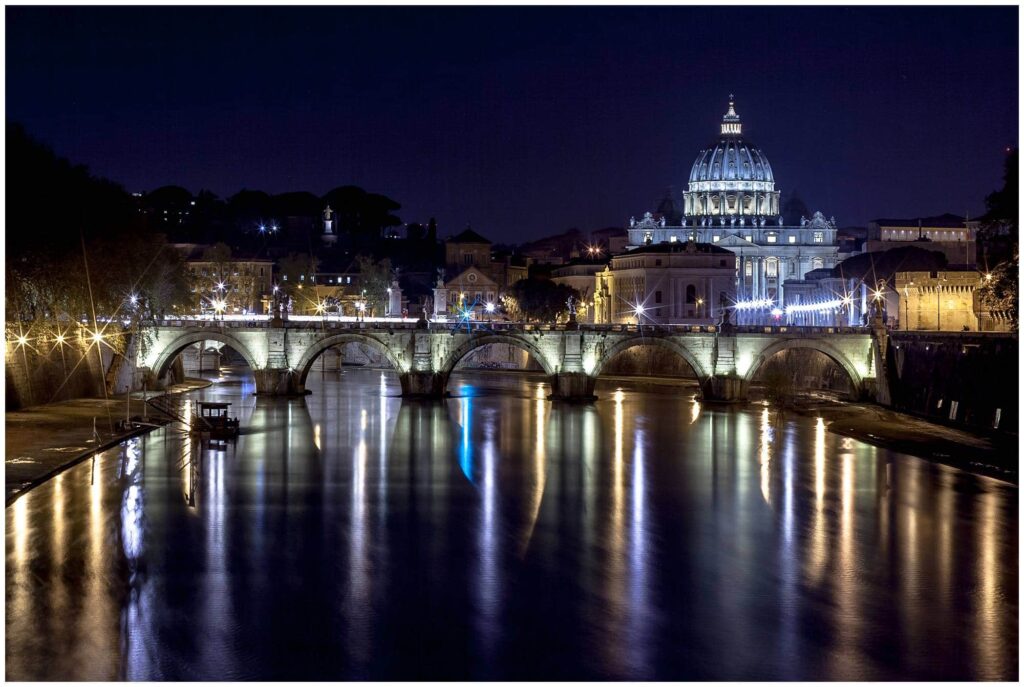
In this photo, you can see the benefits of long exposure. See how glassy the water is? That’s from the long exposure. See the light trains on the bridge? That’s from cars driving by with the long exposure. On this particular trip, I did not take a lens with more zoom capabilities. In order to create the shot I wanted, I cropped this photo during post-processing. I also used a Lightroom preset to correct the orange lights. (You can also correct white balance to do this, if you have a true white in the same lighting conditions. In this case, the preset is easier to use.)
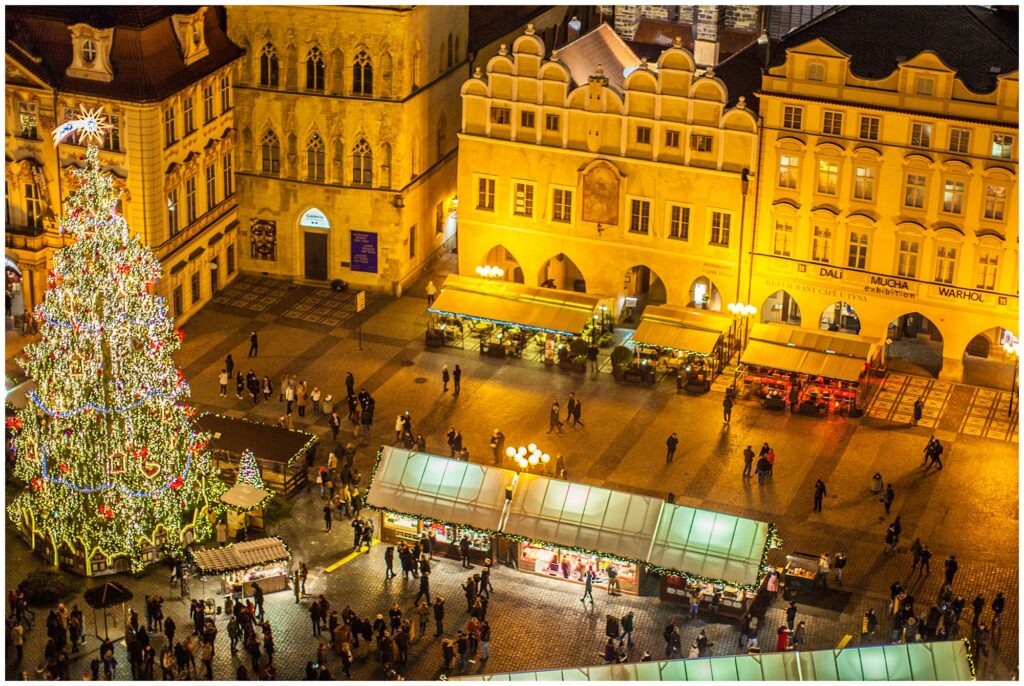
This photo does a good job of showing the benefits of having the extending f-stop range but also shows the pitfalls of using the f-stop to compensate for a tripod in low light situations. You’ll notice that this image has lost a lot of sharpness, particularly in the dimly lit areas. The lights on the Christmas tree are a bit blurry. There wasn’t room for a tripod at the top of the tower. If I had one, however, I would have moved the f-stop down and opened the shutter speed for a longer period of time. If it hadn’t been so cold, I might have played with the ISO a little more. That being said, the 50mm did a great job of providing me a bird’s eye view of the Old Town Square Christmas market that I would not have gotten from the ground.
Landscape Photography
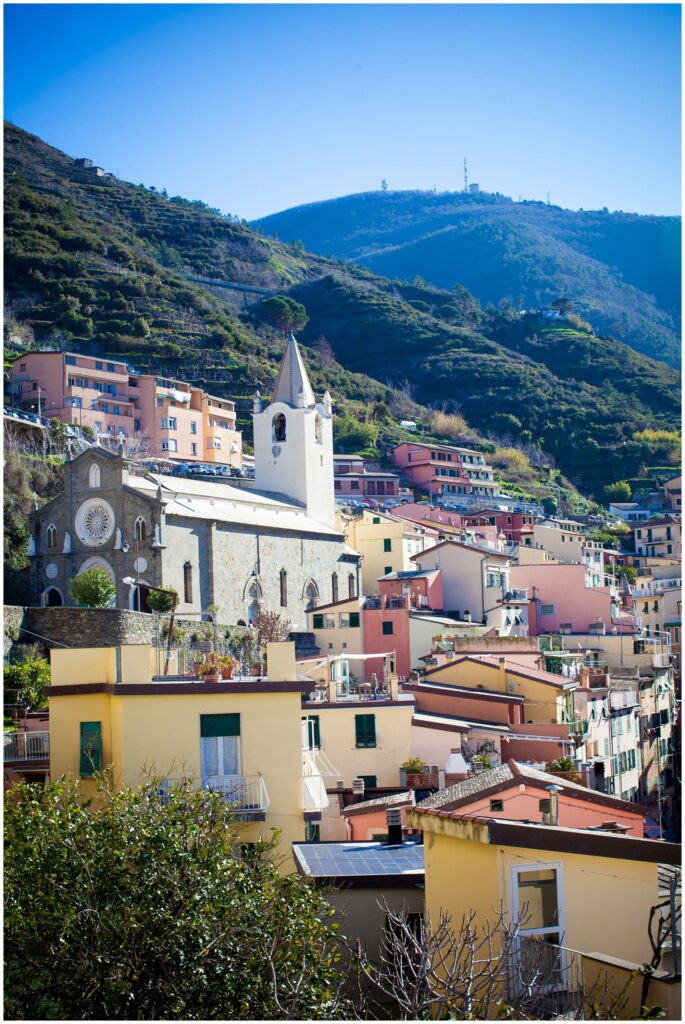
This photograph was taken in Riomaggiore and is a good example of why I don’t like to photograph cities in the middle of the day. Despite the beautiful blue skies, the midday haze made it hard to get the colors right. The buildings aren’t as vibrant as they could be. That being said, it also shows the limitations of the 50mm when photographing landscapes with a lot of details. I had difficulty framing the perfect shot because I was not able to zoom in on the church with the wine terraces in the background. I left the shot as is because cropping it would have created a lot of discontinuity.
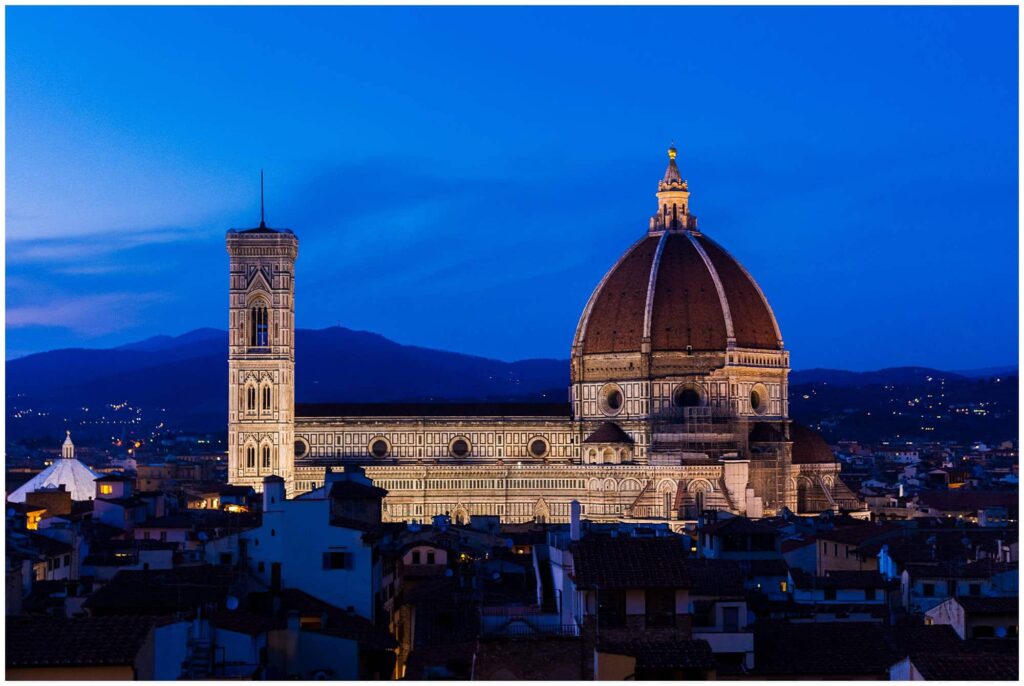
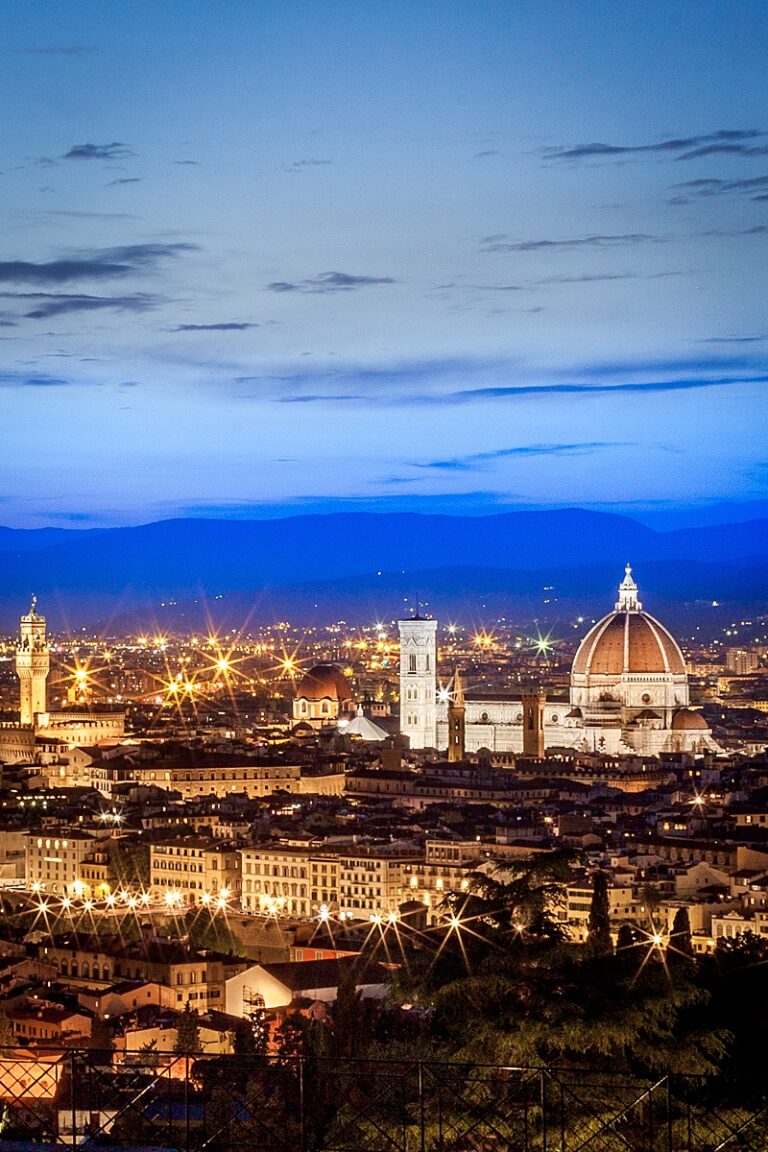
Ah, the Duomo. Impossible to photograph from the ground with a 50mm, but the 50mm takes some beautiful shots from the Palazzo Vecchio. (If you want more of the landscape details, head to the Piazzale Michelangelo or San Minato al Monte.) Rather than dropping my f/stop and losing the details of the Duomo, I bumped my ISO up to 1600. (I don’t like to go over 1600 in most circumstances. My camera has a much higher ISO range, but I have not been happy with the outcome yet.)
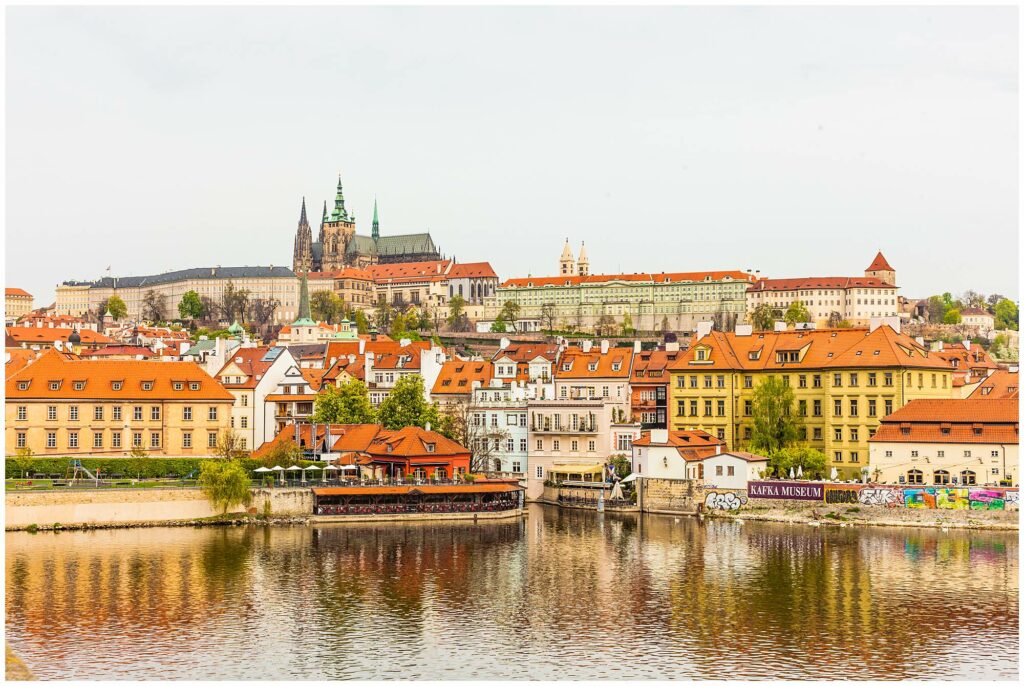
In sharp contrast with the Riomaggiore photo above, this is why I love cloudy days. Colorful cities can truly come alive with overcast days. By using the higher f-stop I was able to preserve more of the architectural details. Despite being on the opposite side of the Valtva River and more than half a mile away (on foot), the 50mm still provides the appearance of being close to Prague castle, despite the distance.
Travel Photography Tips for Beginners
- Start getting to know your camera settings. You can use Lightmate as a cheat sheet, but nothing replaces learning how your f-stop, shutter speed, and ISO all work together.
- Use the rule of thirds to frame your shot. If you can’t get the shot you want from where you are, remember that you can always crop your photo later. I try to minimize this as much as possible by spending time trying to get the shot right though. (I use Adobe Lightroom for all my post-processing tasks.) Remember, your point of view or perspective is what makes photography different and interesting.
- Get a tripod, especially if you are into night photography. After we lost my Targus tripod in Paris, we ordered this Amazon Basics lightweight tripod. It’s cheap and it gets the job done. Tom prefers it to our original tripod because he can carry it over his shoulder. I prefer it to our original tripod because the legs are easier to lock into place. (After 4 years of consistent use, we started to have trouble with the legs locking into place.)
- Plan your days. I love using the Photopills app to plan my photography. This app lets you see sunrise and sunset for a particular location, but it also gives you the timing for the golden and blue hours each day. Photopills is particularly helpful when you are planning dinner reservations. There is a lot more advanced functionality, but you can start with using it to plan your days.
- Play with your camera. Don’t put so much pressure on yourself! Photography is an art and science and it’s meant to be fun!
I need you to teach me your ways! Your images are always so incredibly gorgeous!
<a href=”http://www.greenfashionistablog.com” title=”Green Fashionista”>Green Fashionista</a>
WOW! Such amazing shots with perfect clarity catching all the details of each scene.
I’m surprised you carry around a 50mm (or any fixed lens) when you travel.I’m always worried about taking up too much space in the camera bag and making it too heavy. But I agree that the 50mm is much better at getting gorgeous bokeh. Love the shots in this post. So beautiful!
I initially hated the 50mm a few years ago due to using a cropped sensor but since moving to full frame I absolutely love it.
My last trip was to Morocco and I took 28mm, 50mm and 85mm. 90% of them taken with the 50mm.